
Tips + Techniques
Tips for Wedding Detail Photos
September 22, 2020
In 2015 when I started photographing weddings, it was hard for me to grasp how to make detail photos. I would shoot them from all sorts of angles because I was so unsure what looked good on my digital camera. I am sure my lack of experience had a lot to do with my uncertainty. Regardless, just the idea of photographing details always gave me a little bit of anxiety.
That anxiety pushed me to try a new approach: Photograph as many detail photos as I possibly could after the wedding day had passed. There was something about practicing in the calm of my own home that made me feel so much more comfortable.
[READ: 10 Tips for Photographing with Film at Home]
In 2016, I attended a workshop that taught medium-format film photography and I had a chance to practice shooting my first roll of film on a set of details that were provided for us at the workshop. When I returned from the workshop and saw the images developed, I was blown away by how they turned out: the grain, the angle—everything about these details made me fall in love with the Pentax 645 medium-format camera that the host had provided for us.
A few months after the workshop, I decided that I would start shooting wedding-day details only on film; I was not too sure about shooting the entire wedding on film just yet. Starting with the details, I thought, would help me with my process, seeing as it was the most uninterrupted part of the wedding day. What I noticed about photographing details on film was that it slowed down my approach and allowed me to think about how I wanted the details to be placed in the image.
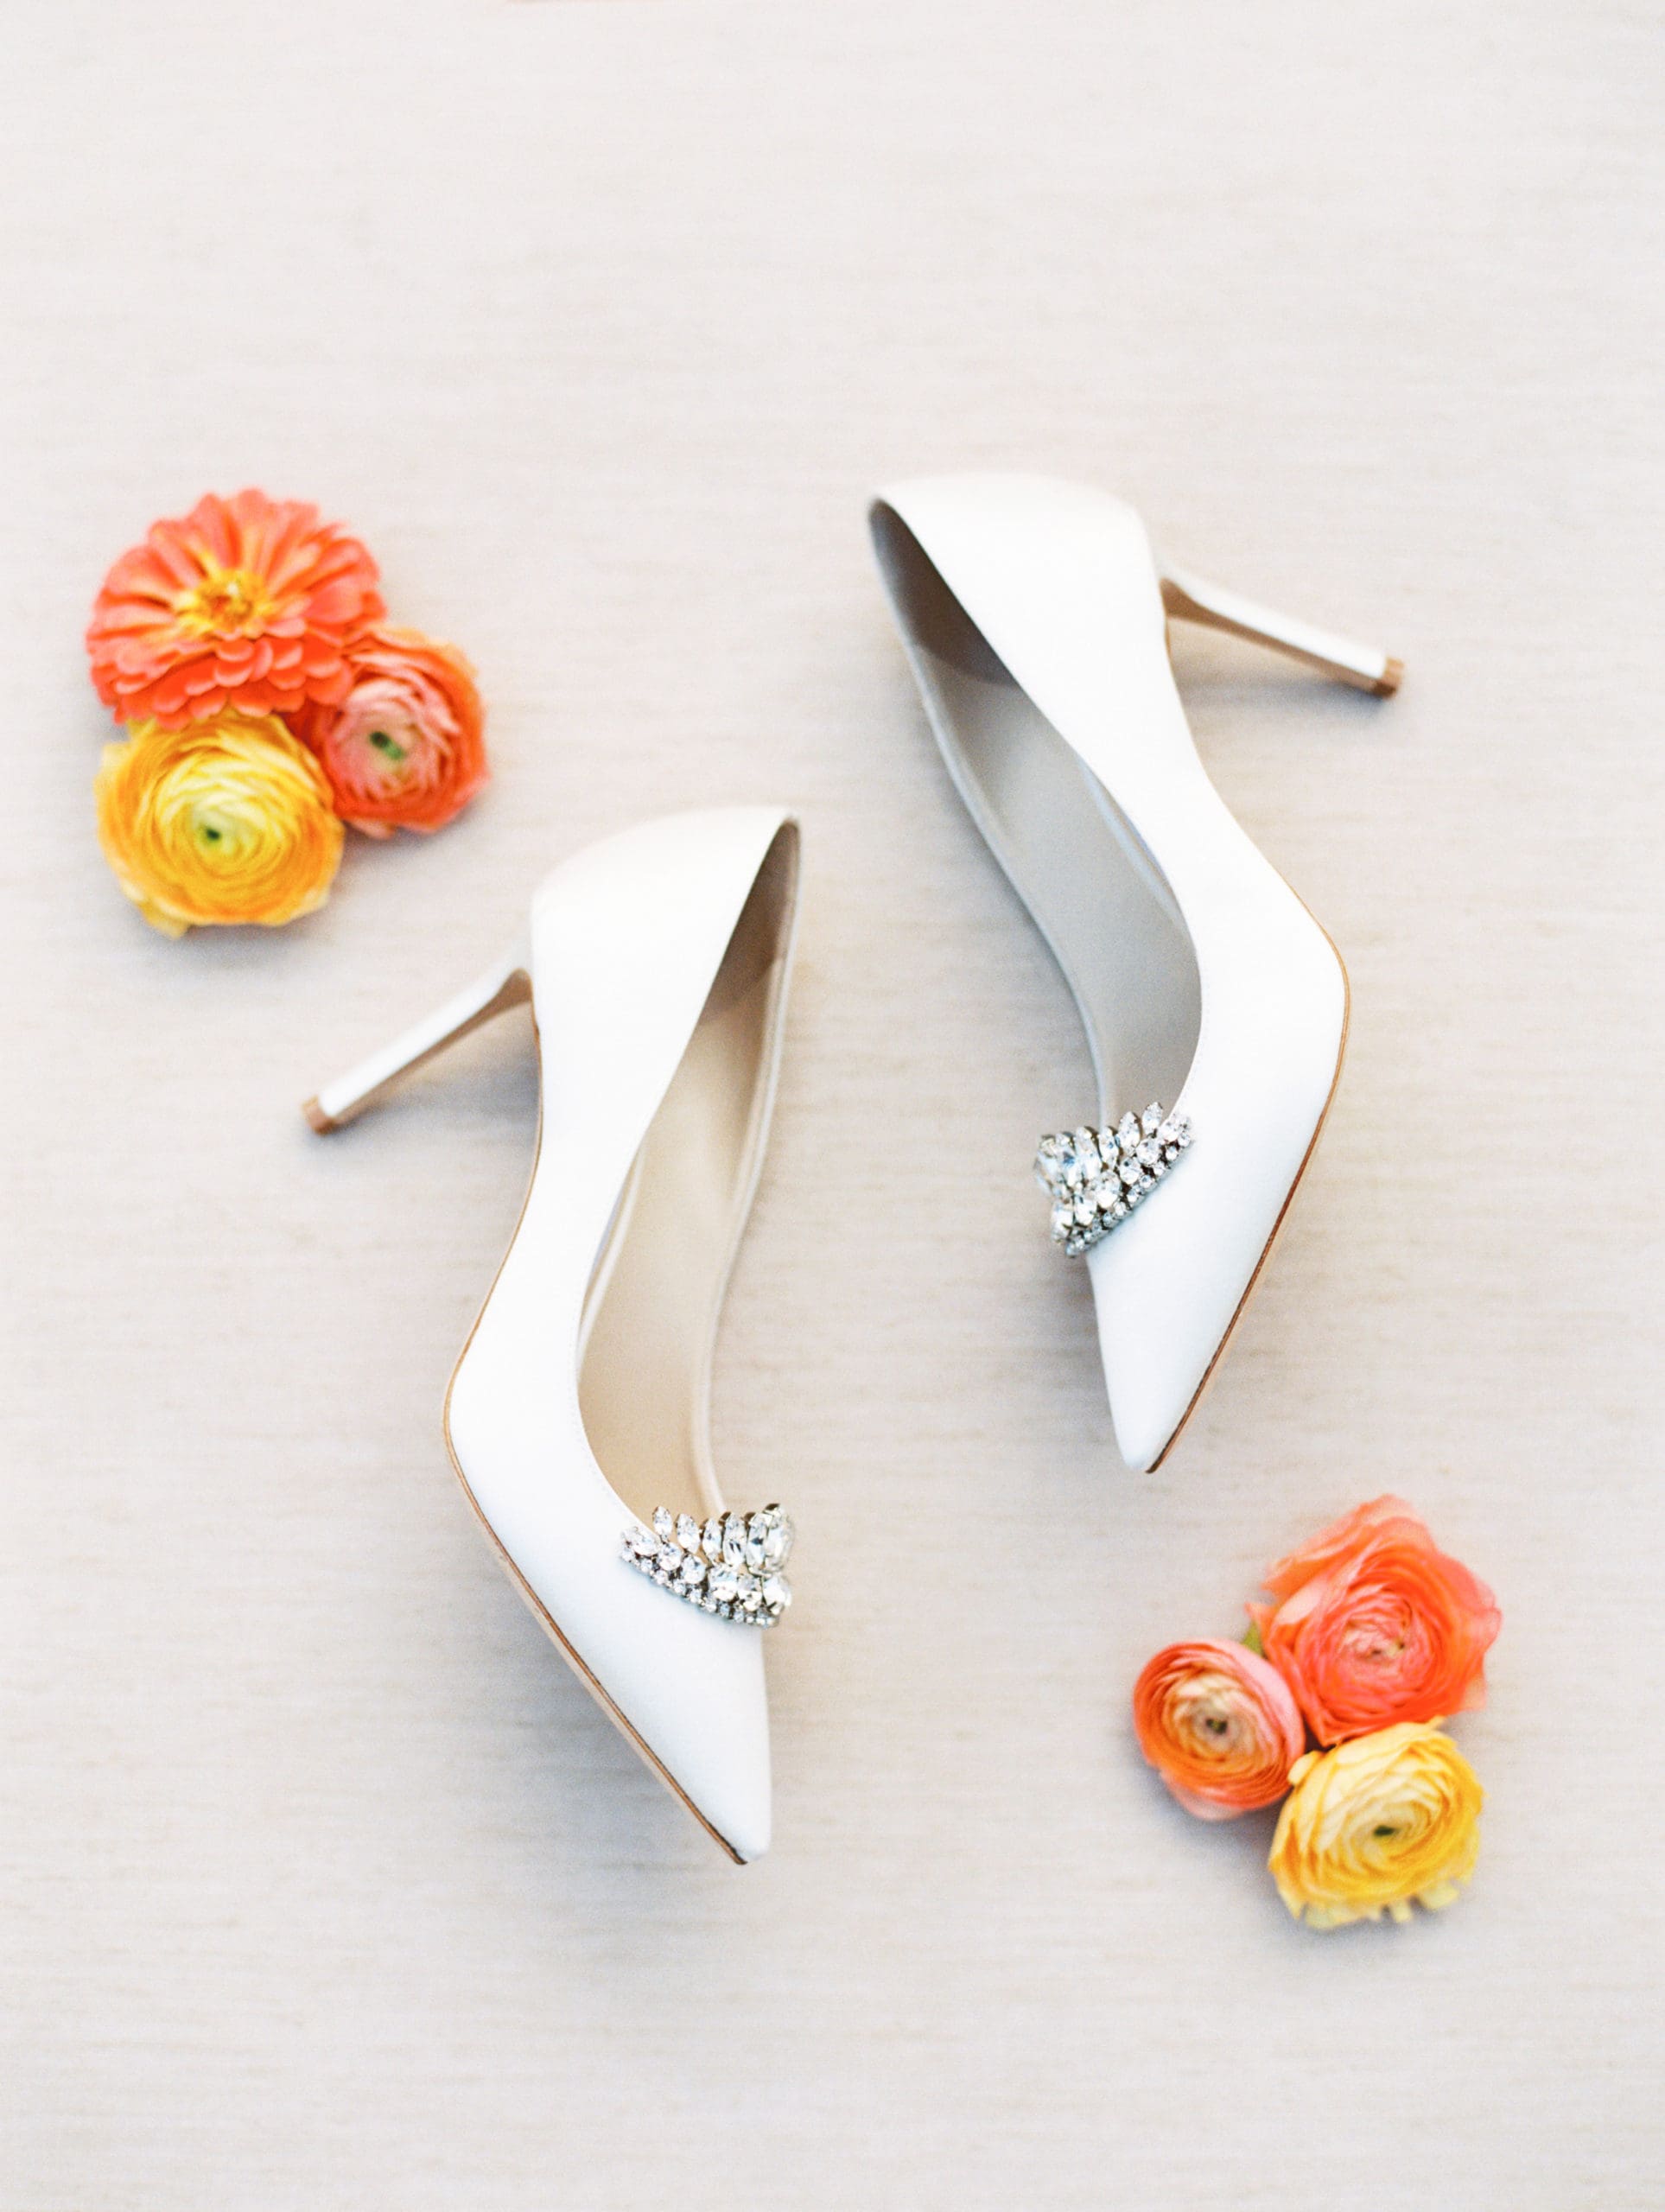
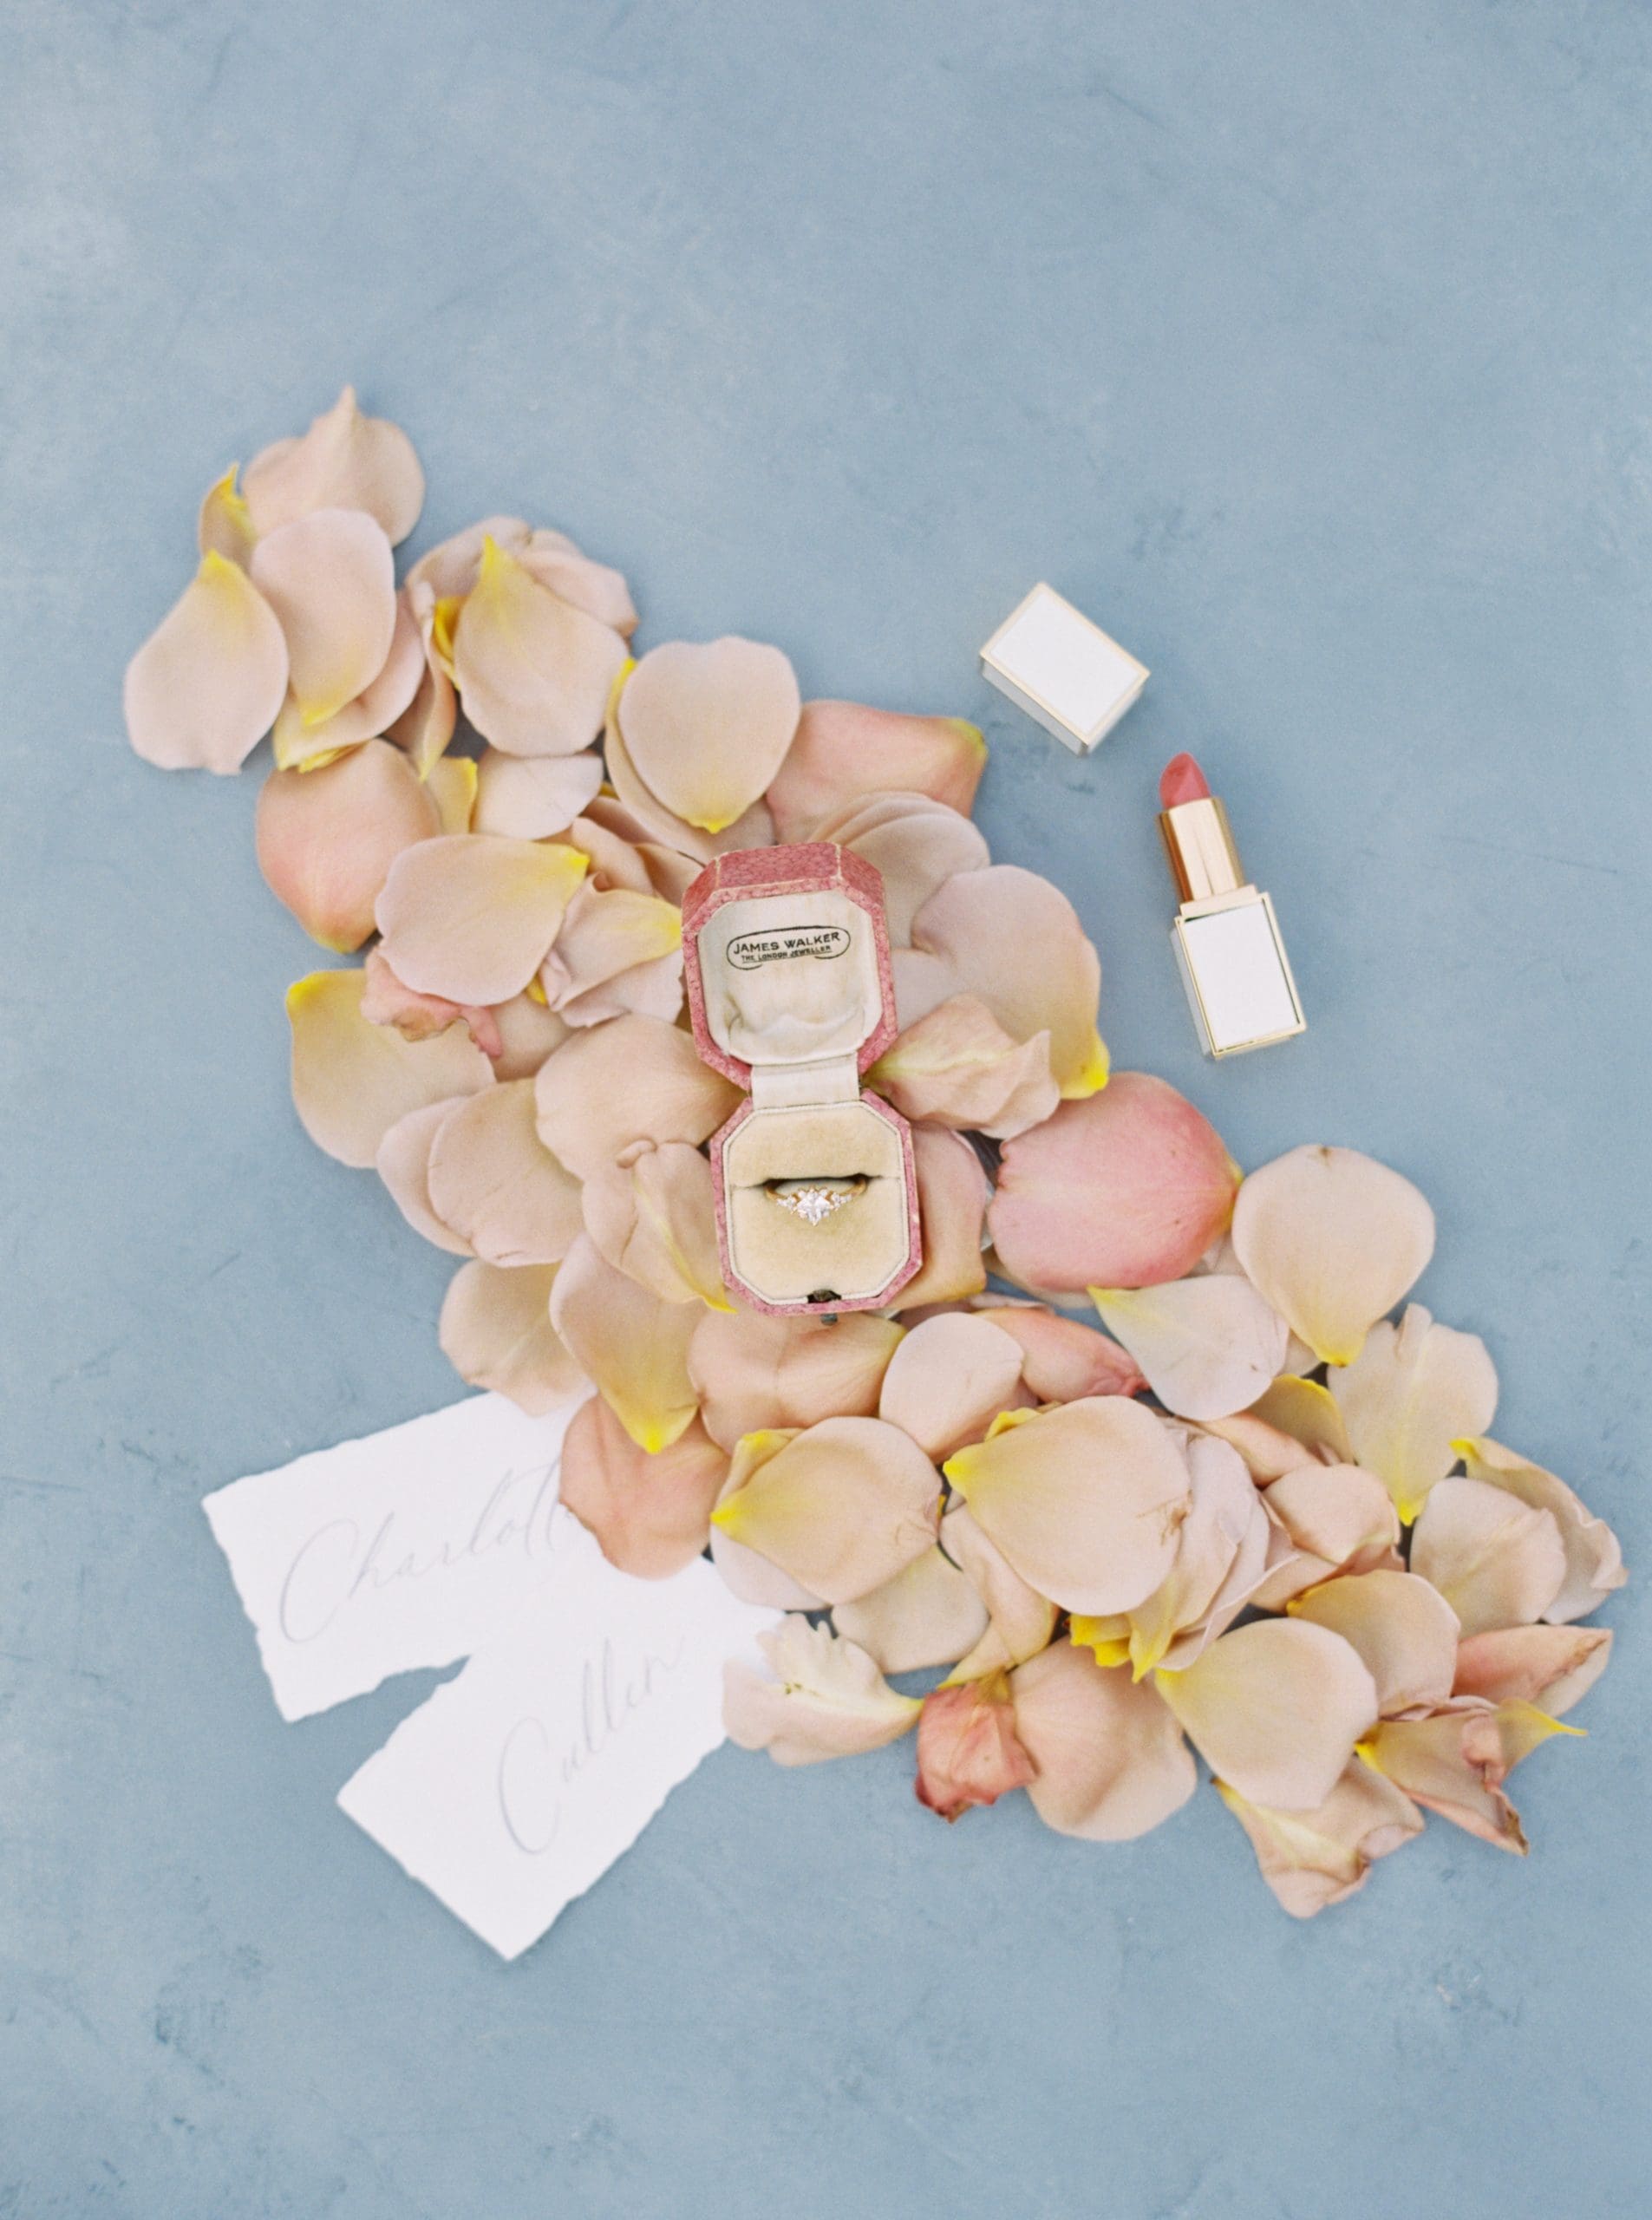
I knew from the start that details gave me a little anxiety, so I began researching what elements elevate those images on film. As soon as I started digging into detail styling tips and flat-lay techniques, I realized the potential in building my very own styling kit. For the work that I produce, it is so important to bring these delicate details from my kit that can add so much more to the wedding day.
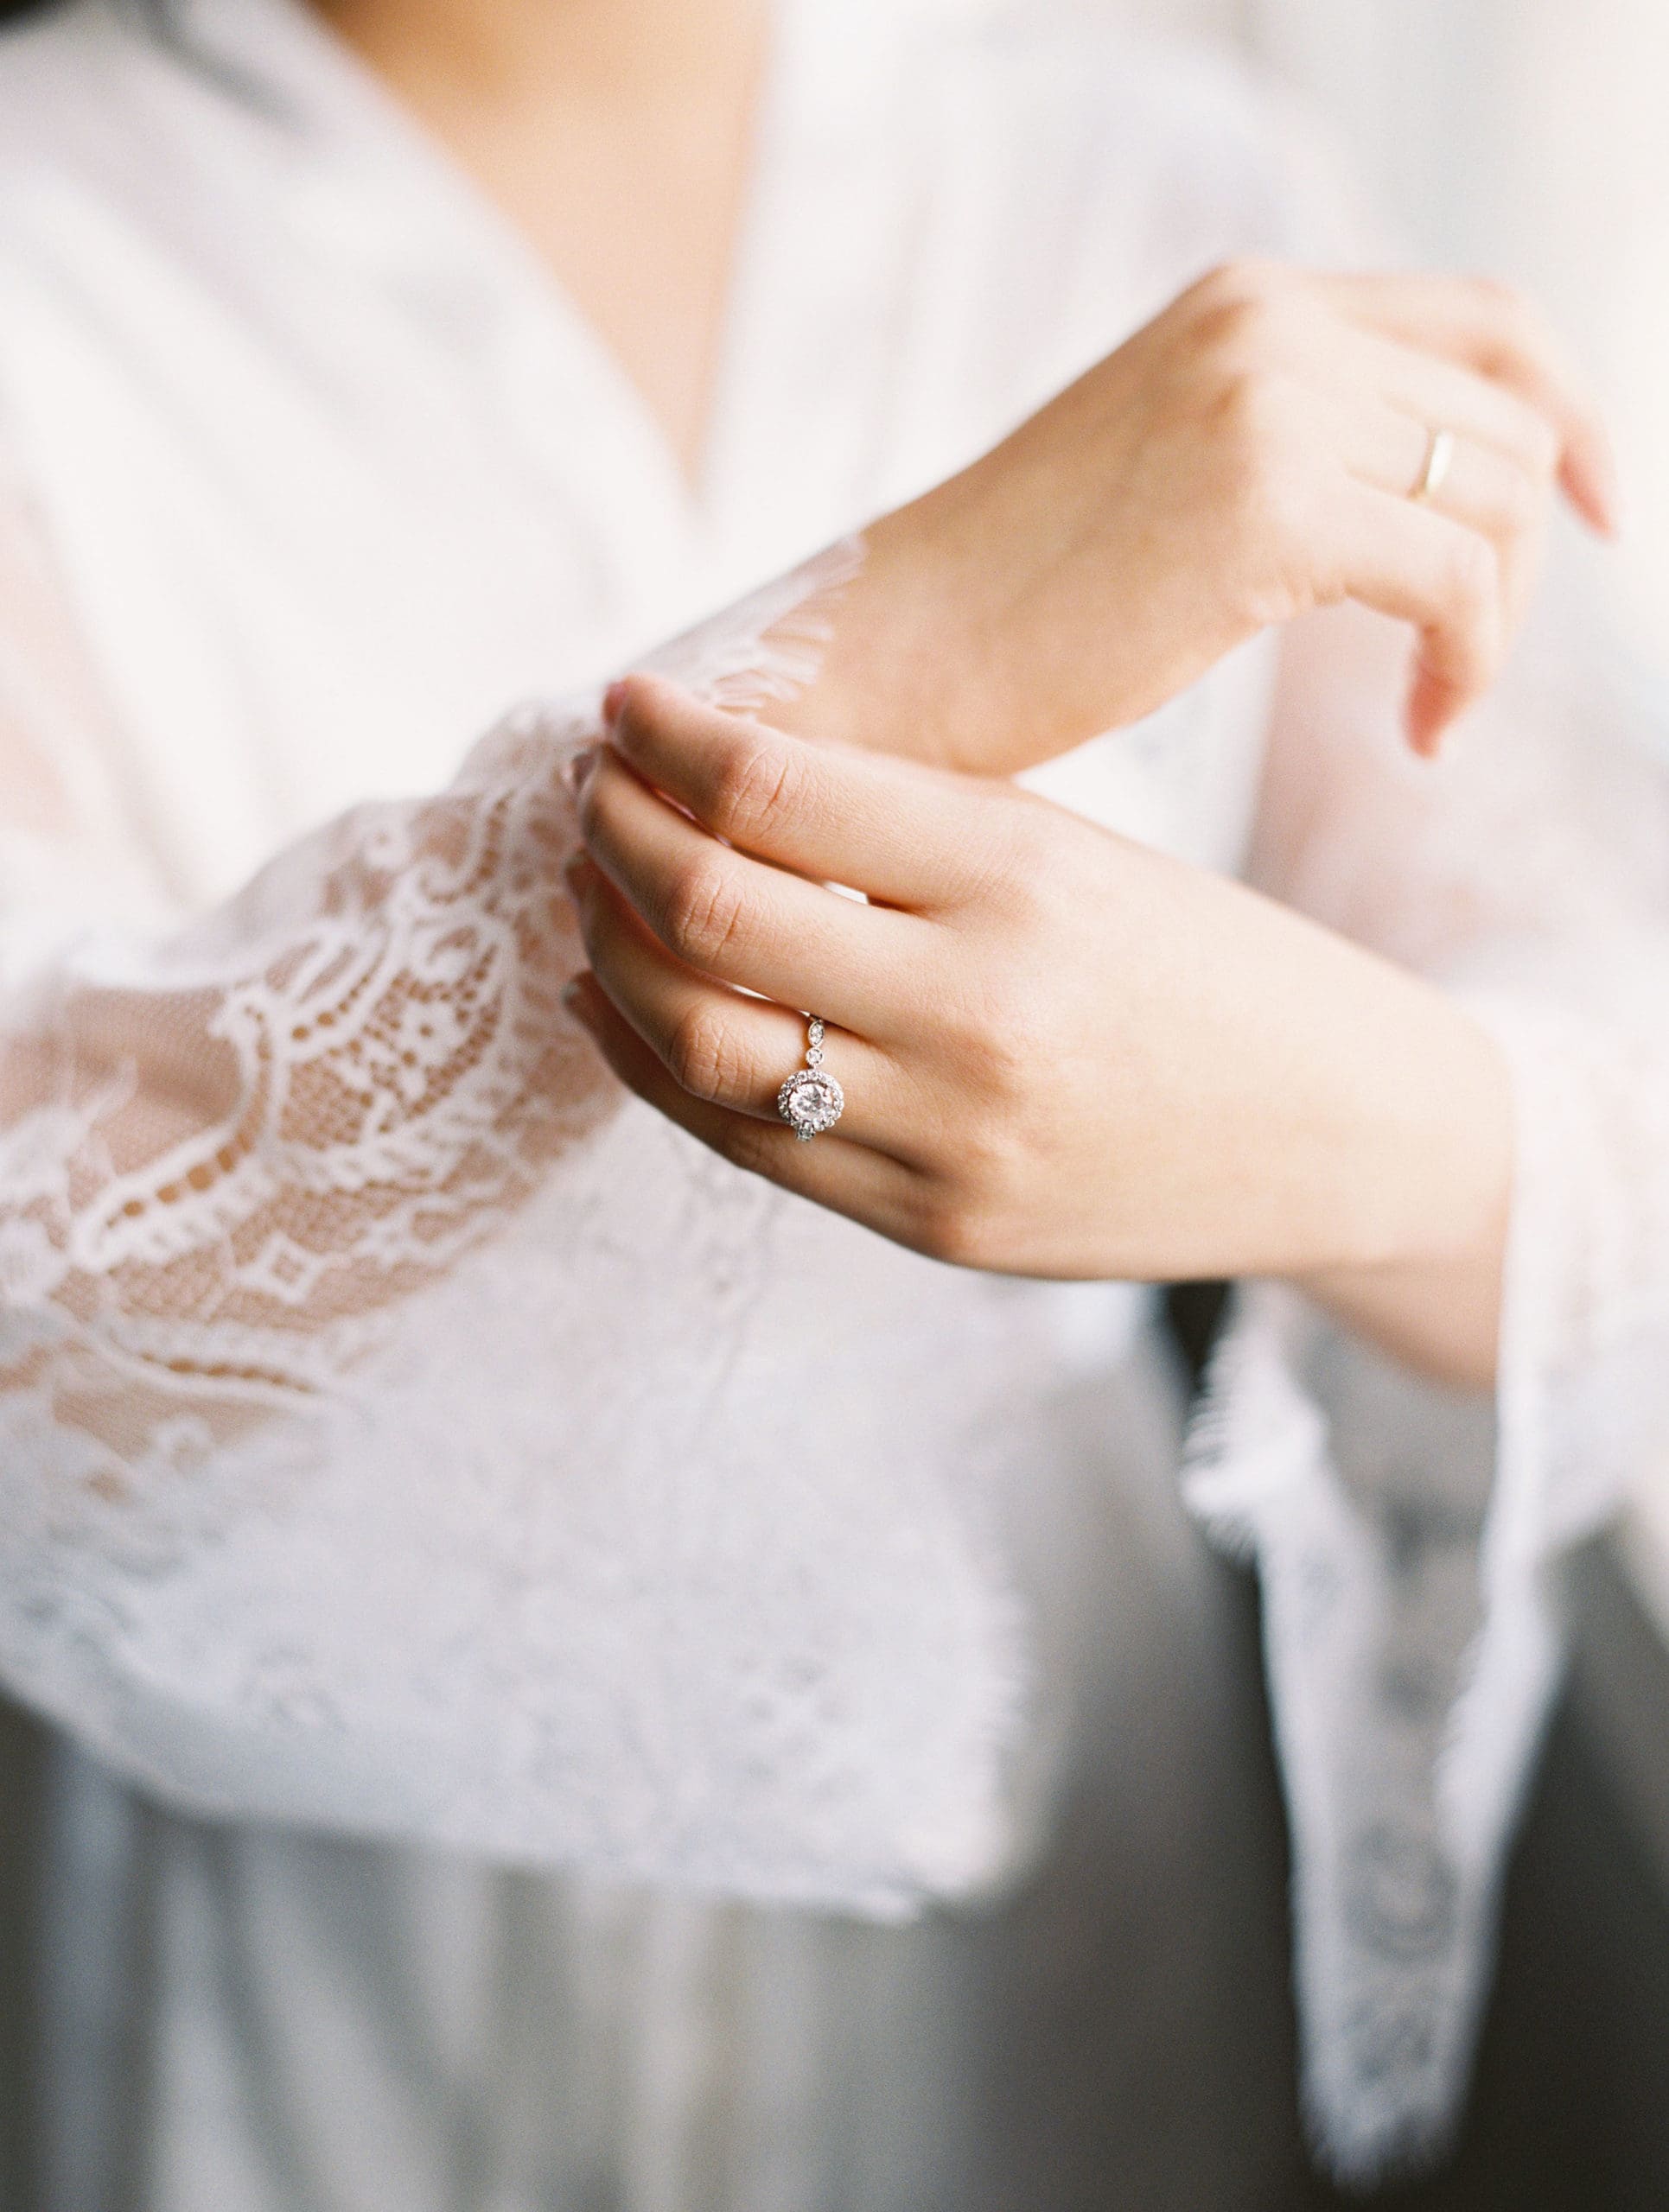
My current styling kit includes vintage ring boxes, hand-dyed silk ribbons and beautiful styling surfaces. All of these items bring so much life into my detail photos and make my couples love the images even more. My personal style is refined and delicate, so adding vintage touches is key anytime I come to the styling surface.
I love the control that I have to create beautiful images with essentially the same styling details from my styling kit. Before, I only wanted to photograph my clients’ details at home because I did not want my fear to interfere with the chaotic wedding day and cause me to my shots. Now, I photograph details in the beginning of the day, and they are photographed quickly. When I receive my developed film, I am always in awe of how the images come to look and feel.
3 Tips For Strengthening Your Detail Photos
The key to getting better with shooting details on film is to practice. It is so important to put the time into putting detail shots together.
1. Build your styling kit with a few simple details—ones that you feel comfortable using and styling on a whim. Classic details pair well with almost any wedding theme and, therefore, make the details easier to put together.
2. Play around with your details. Experimenting will keep your eyes fresh, and developing a repertoire of flat-lays to create on your own will cut down the anxiety you may experience on wedding days.
3. Slow down so that you can be sure you’re creating something you can be proud of. Many times I have pressed my shutter knowing that I did not love the image. When I started practicing my flat-lays at home before my weddings, I learned to slow down and take my time with the details that my bride provided. Slowing down made my images so much better because I was not rushed or stressed.
Marie Rood is a fine-art wedding photography based in Nashville, TN.
Related Articles

Why Felix Kunze Thinks We’ve Been Overcomplicating Lighting (And What He’s Doing About It)
July 24, 2025
When it comes to lighting in photography, most of us instinctively reach for soft, flattering light. We diffuse our flashes, shoot through umbrellas, and seek out cloudy days. But what if I told you that some of the most striking portraitYou know the moment: your subject is ready, you’ve got about five feet of space to work with, and the...
More »

How to Photograph Fireworks for Couples Portraits
October 24, 2024
Fireworks aren’t just for the Fourth of July! You’ll find them regularly at theme parks, sporting events, and maybe more surprisingly, at weddings. For the latter, fireworks offer photographers a wonderful opportunity to capture epic couples portraits with a truly unique backdrop. Of course, if you’re not familiar with how to photograph fireworks, there are some basic tips you’ll want...
More »

Why Top Photographers are Embracing Hard Light (And You Should, Too)
October 23, 2024
When it comes to lighting in photography, most of us instinctively reach for soft, flattering light. We diffuse our flashes, shoot through umbrellas, and seek out cloudy days. But what if I told you that some of the most striking portraits actually come from embracing hard light? That’s exactly what renowned photographer Roberto Valenzuela teaches in his groundbreaking new Dynamic...
More »
