Tips + Techniques
Balboa Park Modified
There was a spot of sunlight coming through from camera left. In order to amplify that sunlight and balance the rest of the light in the scene, we used an off-camera flash with a MagGrid and CTO gel coming from the left—the same direction as the sun. The grid was used to control the light spill and the CTO gel was used to match the warmth of the sunlight. To push more light in her direction, we doubled up and placed a second flash adjacent to the first. We added another gridded CTO gelled flash at camera right, held by our assistant Sean, to add a hair light to them and carve her out of the background.
The real key to making this image work was the exposure. Since our flash sync speed needed to be at 1/200th of a second or slower, and we were shooting in broad daylight, we needed to arrive at a darker overall exposure to get the drama we were trying to achieve. At ISO 100, we were maintaining the dynamic range of the image but the exposure of the image was still too bright, which is why we chose to bump our aperture up to f/7.1. All three flashes were firing at 1/1 full power. We then processed the image with the SLR Lounge Standard Color Preset.
Camera: Canon 5D Mark III
Lens: Sigma 24mm f/1.4
Exposure: f/2.8 at 1/200th of a second
ISO: 50
Lighting: Three Phottix Mitros+, MagMod Grids and CTO gels
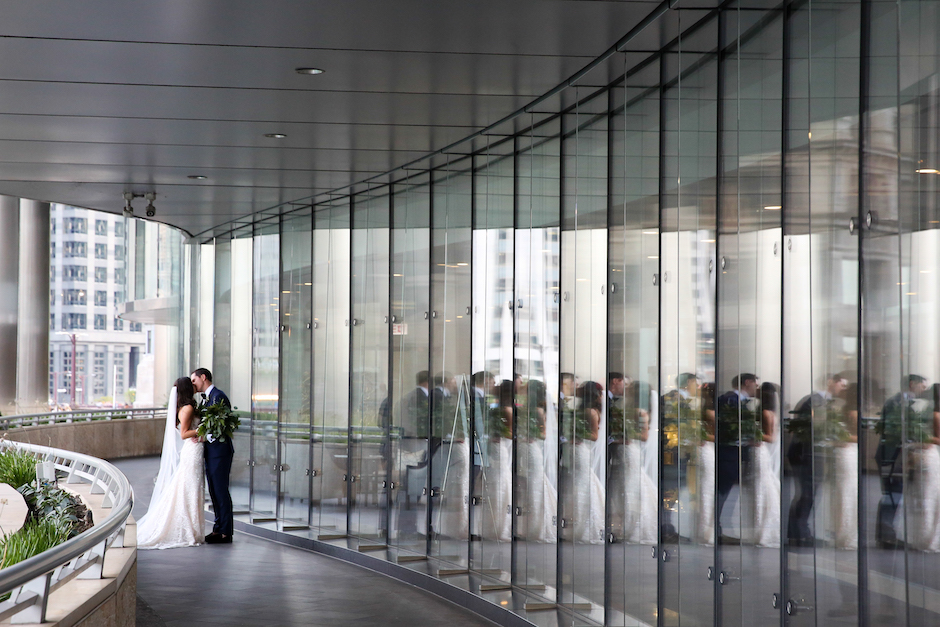
Two-Light Reflection
This technique will work for literally any reflection. Whether you are outside shooting through a window or off of water, you will get roughly the same results. In a controlled environment like this, we have the ability to move around the scene and place the subject where we choose, but in outdoor scenarios, you may not have the same freedom or flexibility. If you do choose to attempt this technique, remember that the subject needs to be brighter than the background.
Always start with one light, your key light, to illuminate your subject. We placed one Phottix Mitros+ directly in front of our subject’s face as our key light source, and we added a MagGrid in order to help prevent light spill so that our light source had direction and purpose. By adding a second Phottix Mitros+ behind the bride, backlighting her, we created a silhouette of her head. This light also acts as a way to illuminate the hairspray, which incorporates action into the scene.
Camera: Canon 5D Mark III
Lens: Canon 24mm f/1.4
Exposure: f/7.1 at 1/200th of a second
ISO: 100
Lighting: Three Canon 600 EX-RTs, MagMod Grids and CTO gels
Backlit in Yosemite
When you’re shooting an ultra-wide image that showcases the environment and your subjects, they might get lost in the background. Backlighting is a fantastic way to bring attention to your subjects while also exaggerating atmospheric effects like rain, mist, fog and smoke.
For this engagement shoot, our couple wanted an epic wide shot with this waterfall in Yosemite National Park. To help chisel them out of the scene, we knew we could add a backlight to help them pop out from a rather busy environment.
Our first step was to determine our exposure by starting with shutter speed to control the motion of the waterfall and then dialing in our exposure to compensate for the light. We then placed a Profoto B2 behind the couple at 50 percent power to backlight them in the scene. We made the stylistic choice to cool down our in-camera Kelvin to create a temperature throw and used 2800K for our final shot with a CTO gel on the Profoto B2 to contrast the color.
Camera: Canon 5D Mark III
Lens: Hasselblad Macro 120mm f/4 II
Exposure: f/4 at 1 second
ISO: 100
Lighting: Profoto B2, CTO Gel
Pye Jirsa co-owns an L.A.-based wedding studio called Lin and Jirsa Photography with Chris and Justin Lin. With a team of over 60 creatives, Lin and Jirsa Photography shoots around 400 weddings and events each year.


