
Power of Print
WPPI The Annual: How to Prep and Print Photos from Home
May 6, 2021
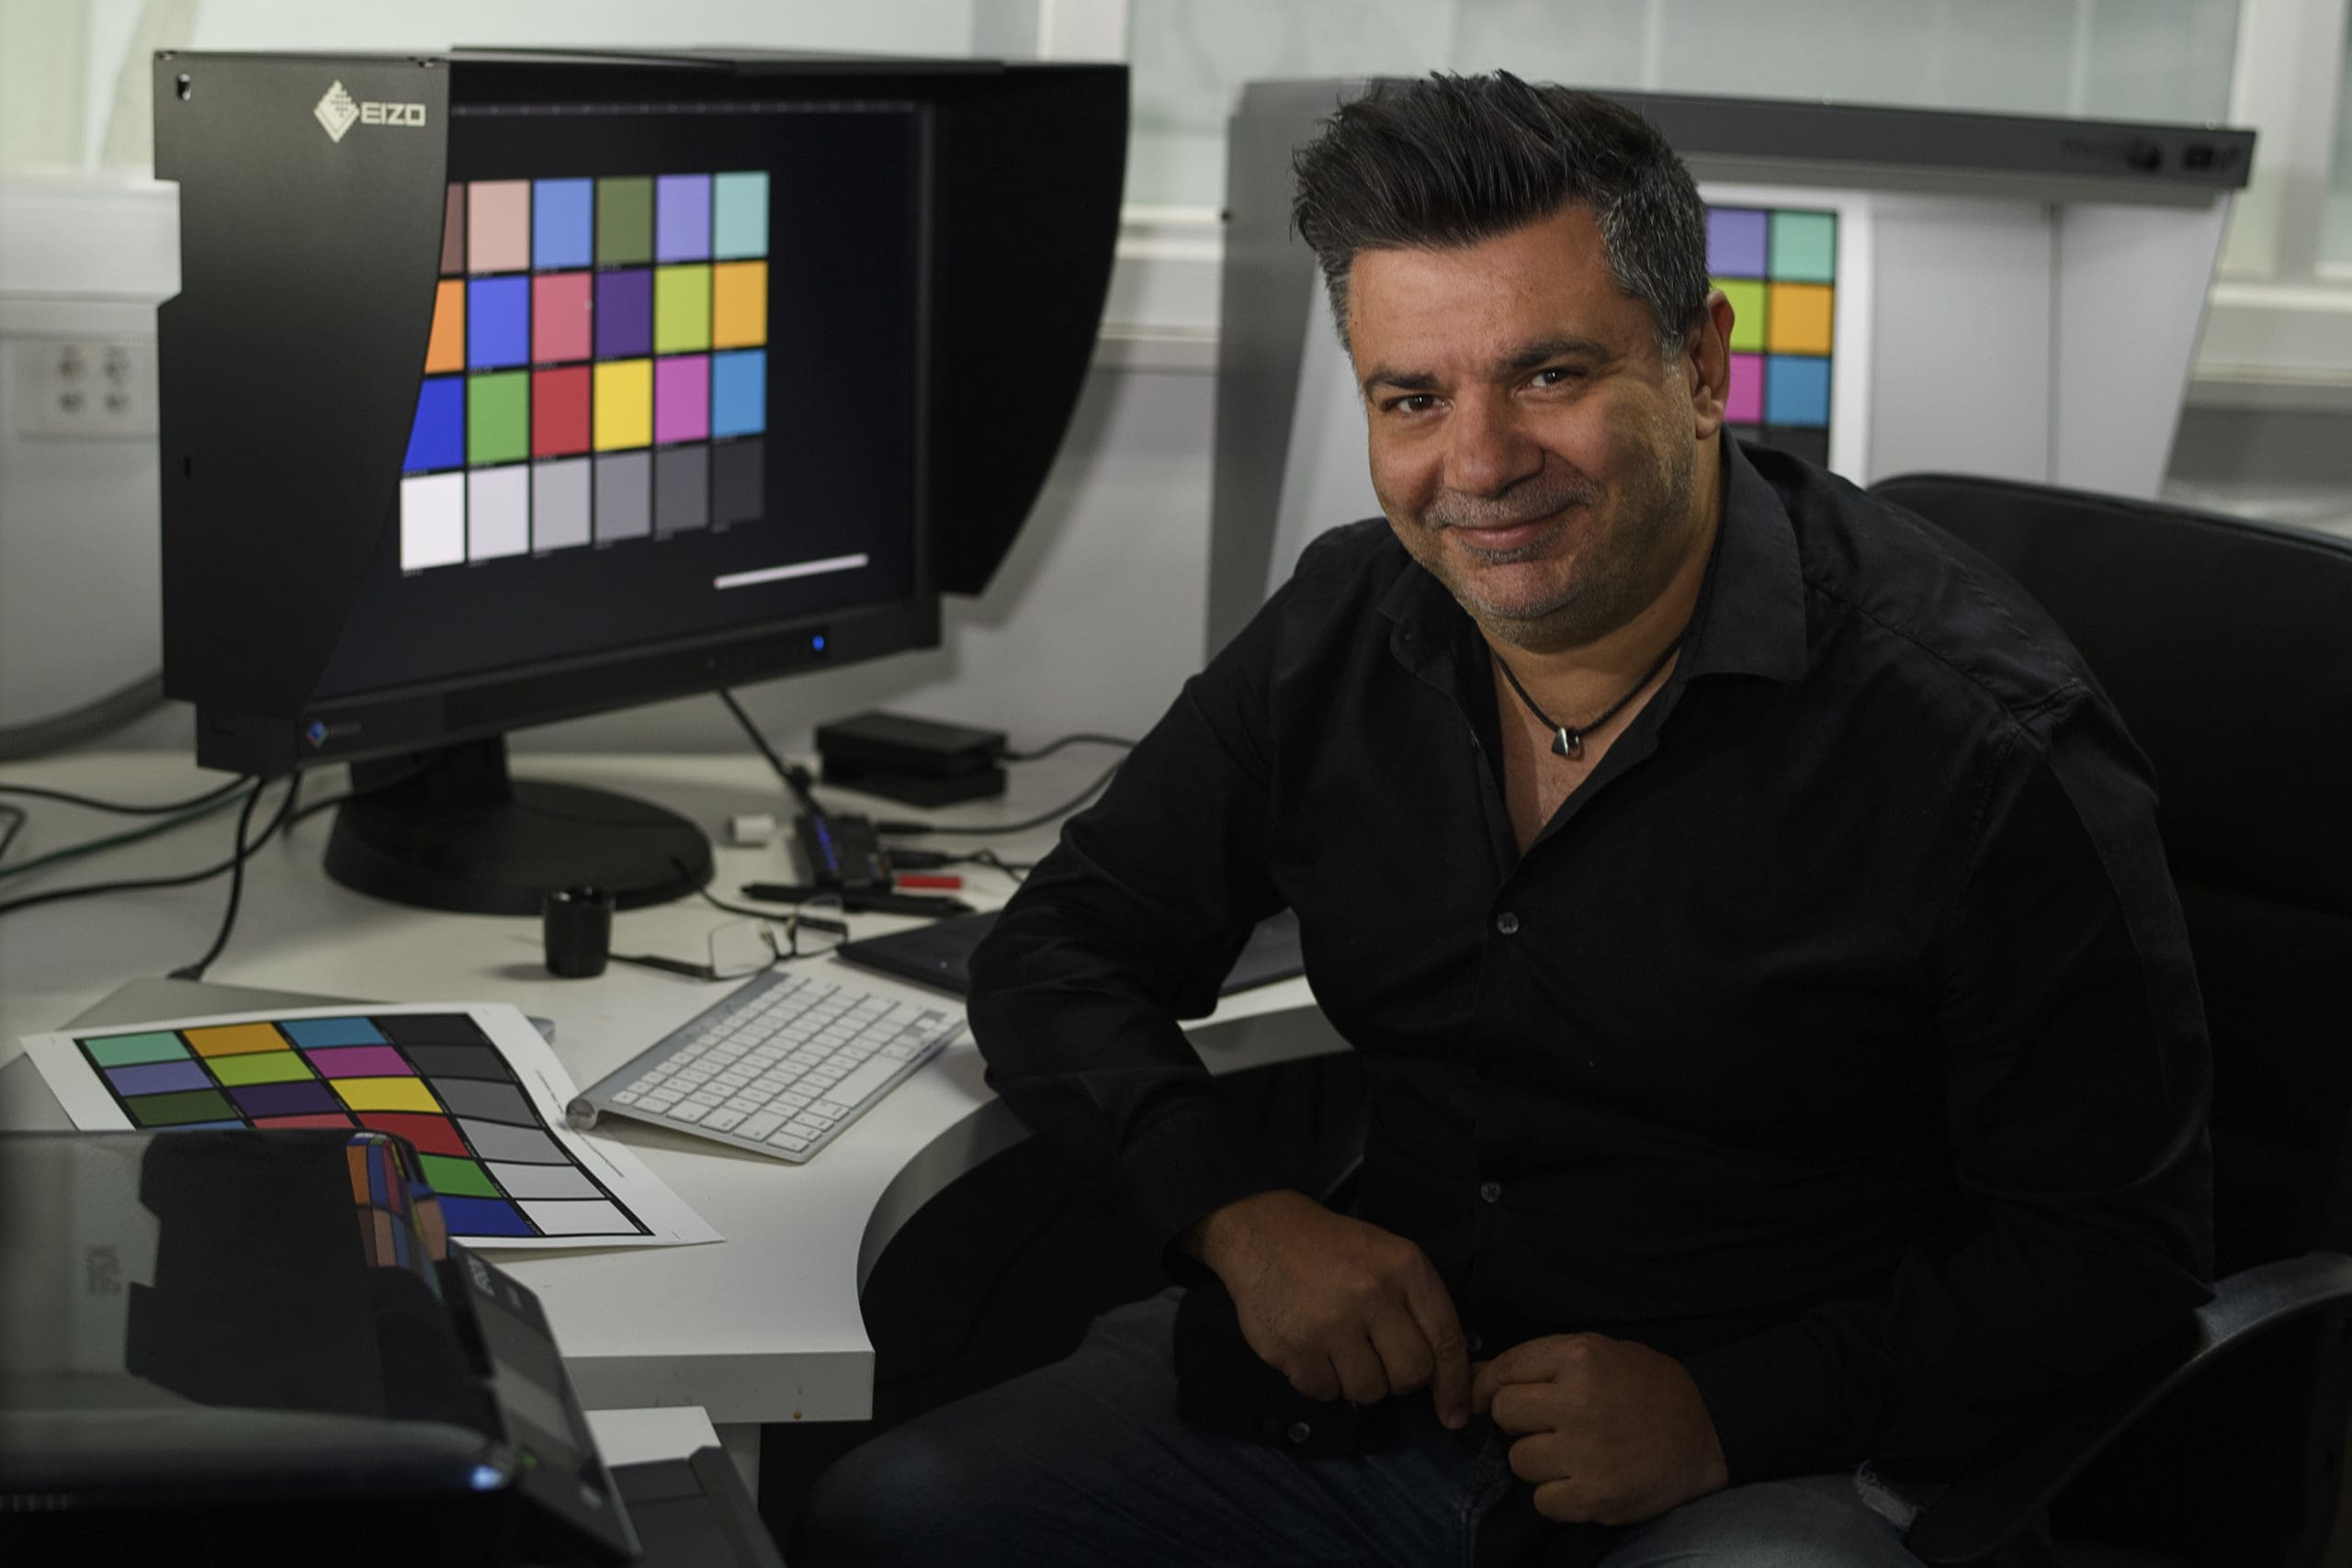
WPPI The Annual‘s judge, chair and resident print expert, Rocco Ancora, shows you how to prep and print photos from home.
The biggest frustration for photographers attempting to print photos for the very first time is that their prints don’t match their screen. There could be many factors contributing to this, but I will outline the most common pitfalls here.
1 | Monitor Calibration
The monitor is the most important piece of the jigsaw color management workflow as it is your only true window into your image file. Calibration is a non-negotiable component.
The purpose of calibration is to make sure that all the colors, contrast and brightness are correct. It ensures you can trust what you actually see on your monitor. Remember that the monitor is your only window to your image file. Calibration will give you confidence to send images to your lab for printing and knowing that you are giving your clients files that are properly balanced, based on your creative vision.
For photographers, it is recommended that we calibrate to the photography and graphic technology industry international standard. That standard is ISO 3664:2009 for graphic technology and photography viewing conditions. This standard stipulates white point, luminance (brightness) and contrast settings for your monitor.
ISO 3664:2009 recommends calibrating monitors to:
- white point of CIE D65
- luminance between 80cd/m2 and 160cd/m2
- gamma to 2.2 or native
The choice of monitor is a very important one as monitors are not made equally. Whichever monitor you have, the principles and parameters that you set are exactly the same. The calibration software automatically prompts you to set the desired brightness, contrast and color of your monitor.
2 | Working Environment
Most lighting in your home is not ideal for any digital imaging work. The color of your lights and your walls are extremely important factors as colors around you can affect your color perception.
Ideally, we need to make our viewing area as neutral as possible. No direct sunlight or direct window light is preferable as the amount of light in the room will alter at different times of the day, not to mention varying weather conditions affecting the color temperature.
All sources of glare should be avoided since they significantly degrade the quality of the image, and the monitor should be situated so that no illumination sources—such as unshielded lamps or windows—are directly in the field of view or are causing reflections on the surface of the monitor.
The monitor should be the brightest thing in your field of view. It is recommended that the light intensity should be no greater than 64 lux, equating to roughly 1/15 of second at f/2.8 and ISO 400.
Before you print photos, you have to set up your viewing space. For WPPI The Annual entrants: The prints are judged under daylight-balanced lighting (5000K) at a specified intensity. The light is set at 2000 lux and EV 10, which is around f/2.8, 1/125 of a second and ISO 100. Setting up your lighting conditions to WPPI specs is imperative for accurate appraisal.
3 | Unexpected Print Results
If this happens, it means that your monitor is displaying the correct colors but an overly bright version of them. In this case, you need to recalibrate using a lower brightness setting—eg100cdm2, 90cdm2 or 80cdm2—in your calibrating software.
Another problem that you might encounter is that your prints may appear too warm compared to the screen. What this means is that brightness might be accurate but your white point and contrast will differ depending on what paper we are printing on—not to mention your viewing conditions. The reason for this is that there are different versions of white. In other words, what is white? Our brains keep adjusting the color that we see based on the lighting conditions.
If we hold a blank piece of our favorite printing paper under tungsten light, it will appear white; if we do the same under window light, it will also appear white. If we were to compare a blank sheet of fine-art paper against a pure white document opened in Photoshop on a monitor that’s calibrated to D65, the monitor will appear too blue by comparison. The base color of the printing paper, especially the fine-art papers, have a warmer base, and that warmth will vary from paper to paper.
So how do we change this? We can recalibrate to a warmer white point, D50 (5000k), instead of D65.
4 | Paper Profiles
Once you have chosen your paper, you need to download and install in your operating system the appropriate paper profile from the paper manufacturer’s website for your specific printer model. This will allow you to achieve fairly good results, but for accurate color and tonal reproduction, you need to create a custom paper and printer profile that is specific to your printer. A specialized printing bureau that can do this for you.
Controlling color from pixel to printed dot can be a daunting process but by following the procedures outlined above, you will achieve accurate and consistent results. Printing your own work can be a very rewarding experience, empowering you to control your vision from capture to print photos.
Brought to you by WPPI The Annual: 16×20, Print, Album and Filmmaking competition. Learn more about this awards community at wppiawards.com.
For more information on how Rocco Ancora of Capture to Print can help with your WPPI entries, please visit the Capture to Prints website.
You might also like:
WPPI Prize Winners Dissect Their Print Choices
Related Articles
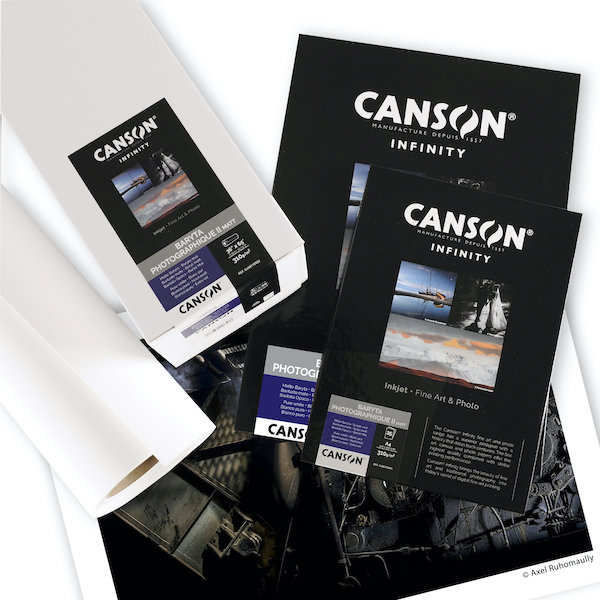
Canson Infinity’s Baryta Photographique II Matt Paper
July 23, 2021
Canson Infinity expands its range of papers to include Baryta Photographique II Matt, a new unique digital darkroom paper.
More »
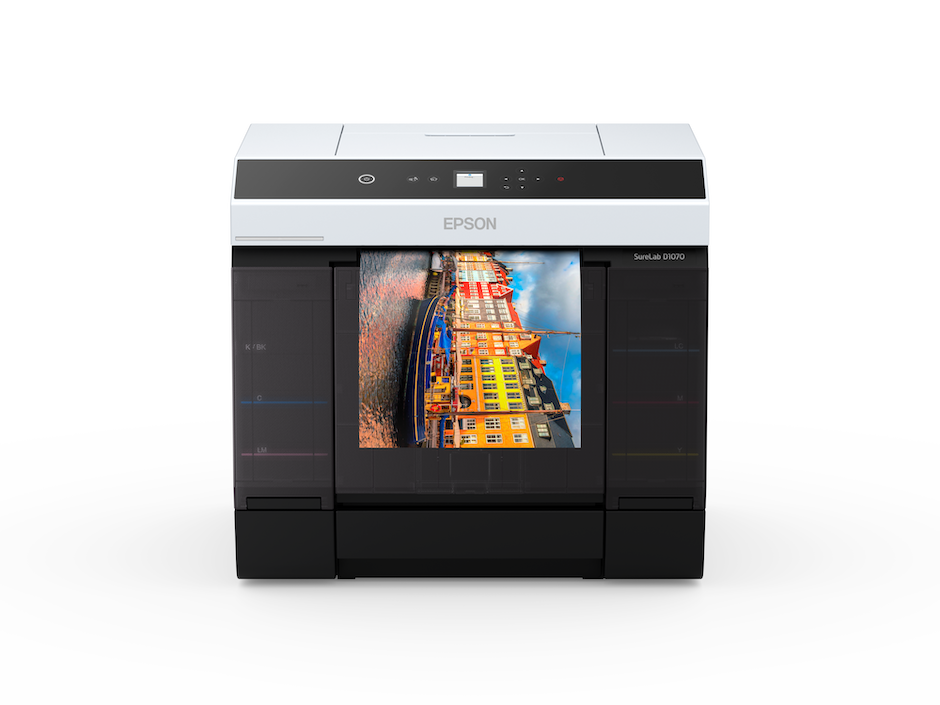
Epson’s New SureLab Printers: Great for Event Photography
July 22, 2021
Event photographers who need high speed, high volume print production have new options—Epson’s SureLab D1070 and D1070DE printers.
More »
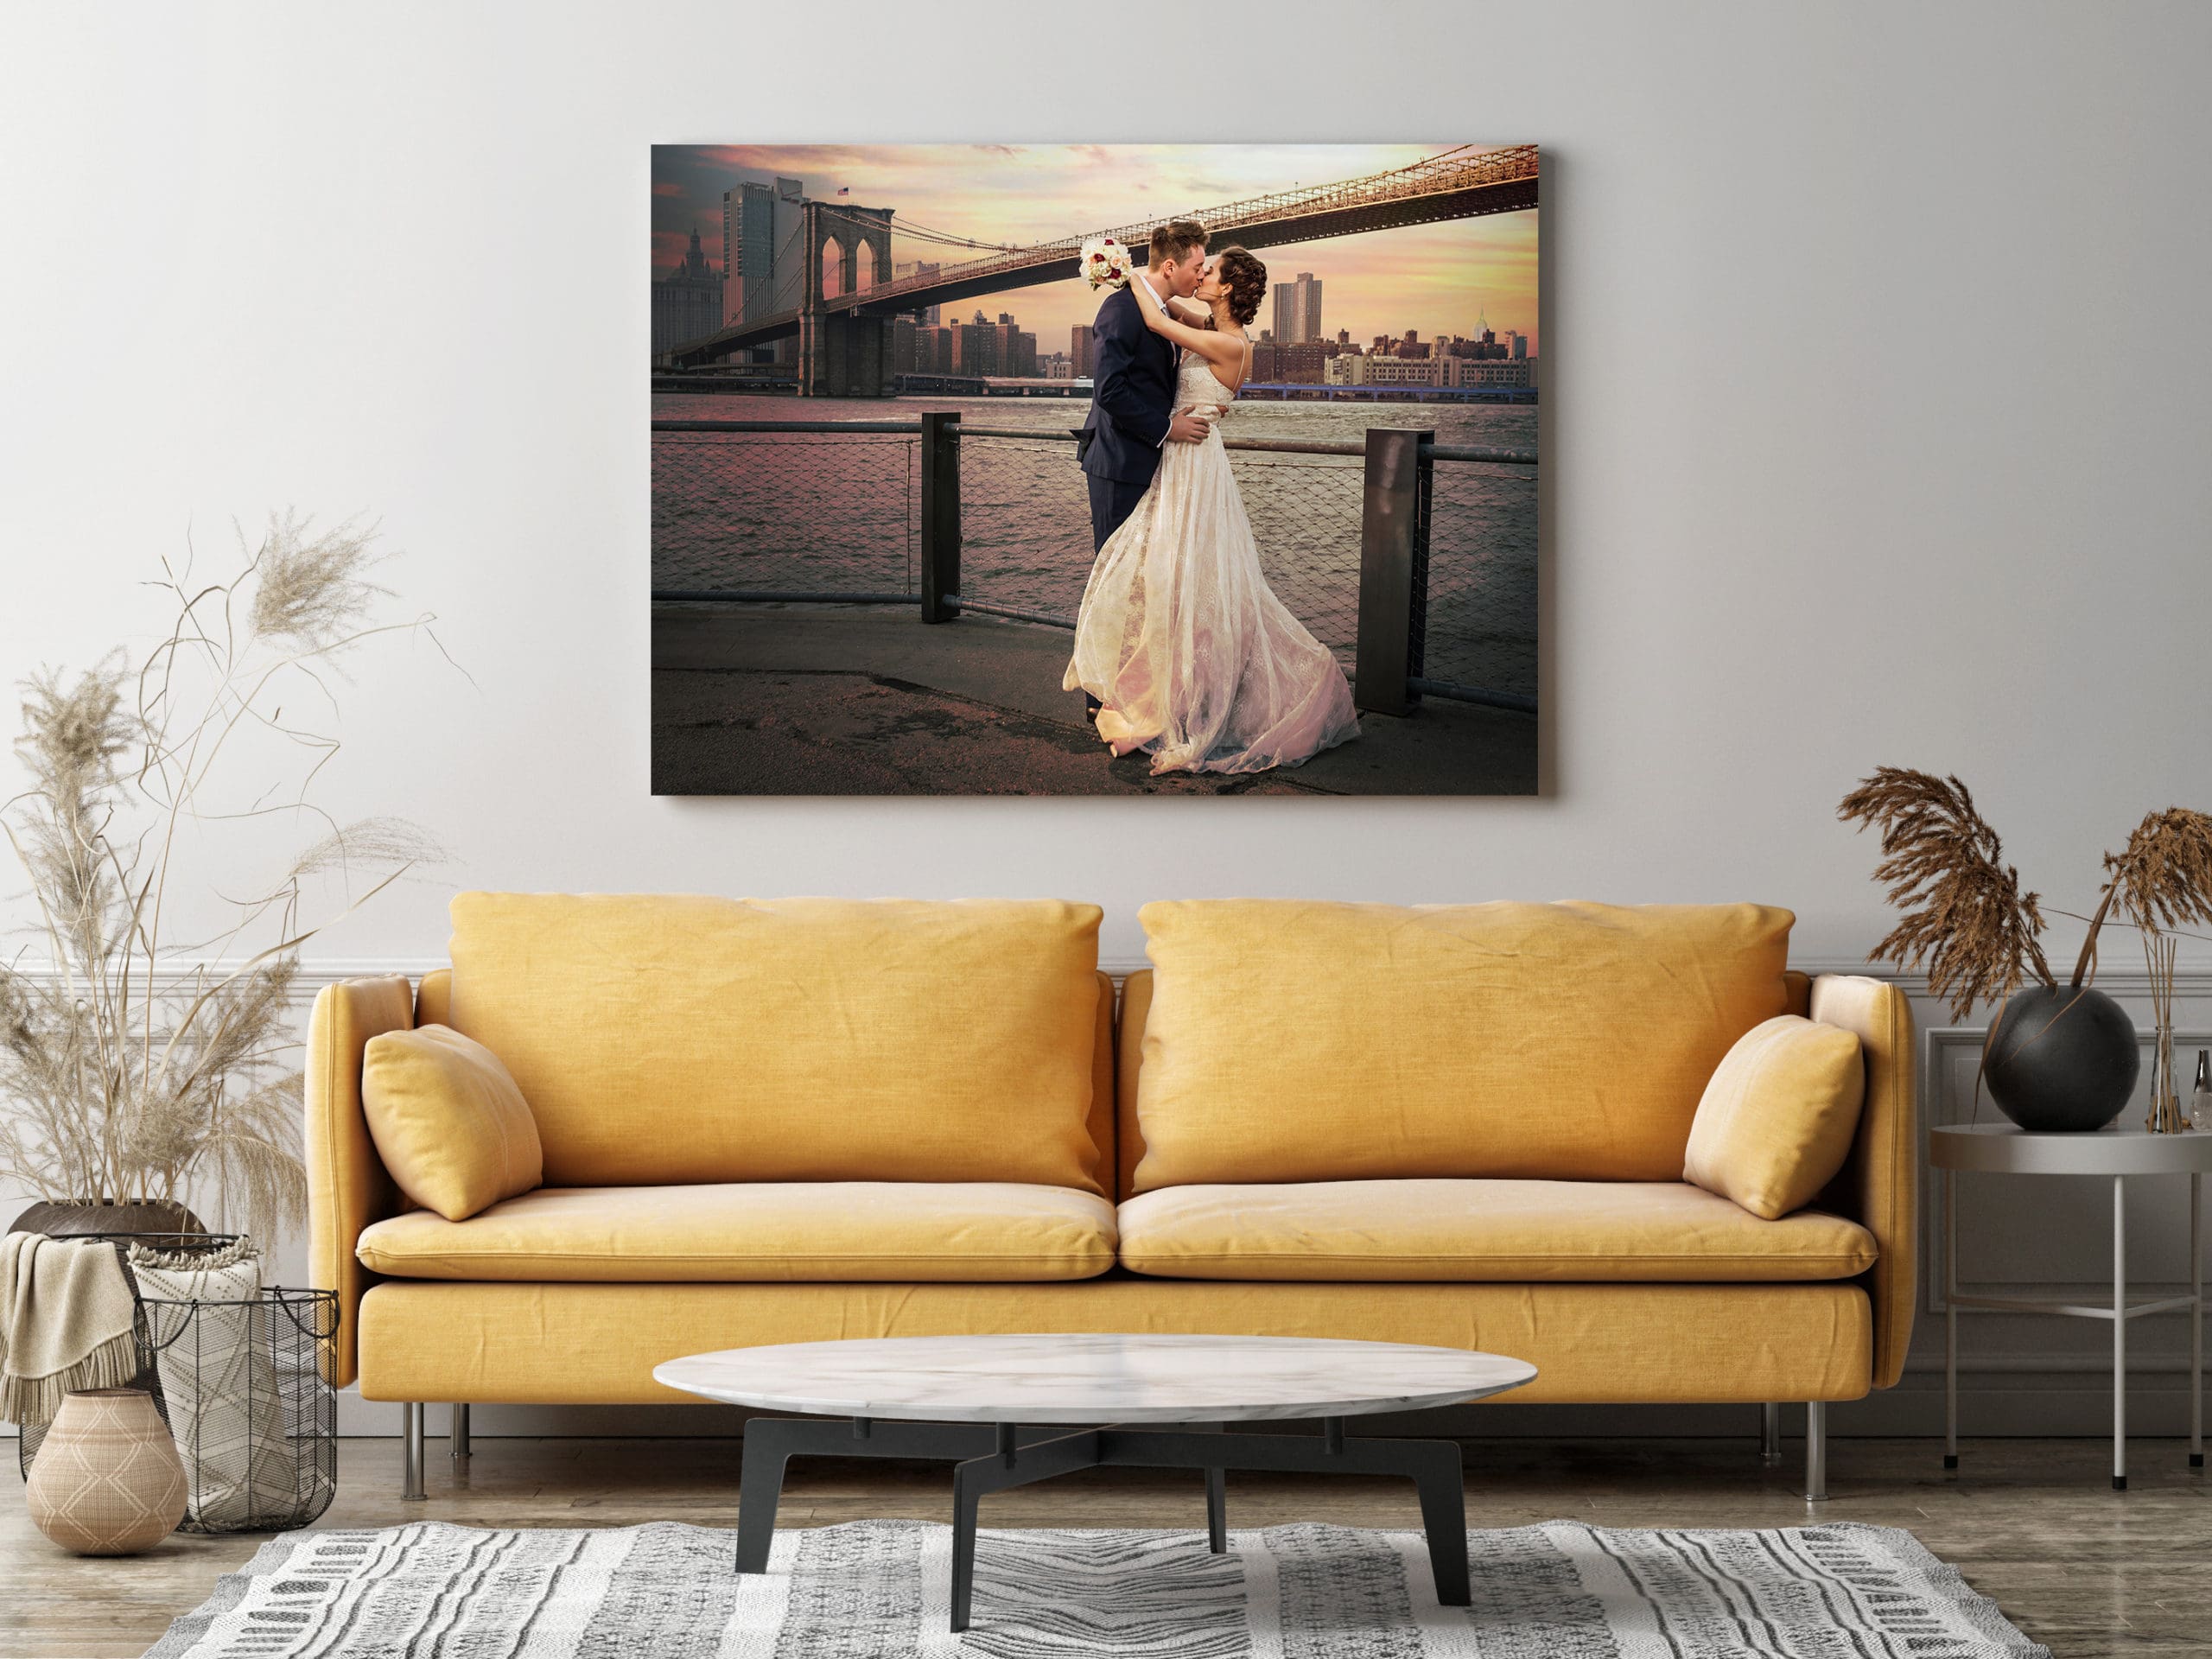
Printing and Selling Wall Displays with CG Pro Prints
May 27, 2021
Photographer Aly Kuler and his wife, Kathleen Gemma Kuler, who are based in New York’s Hudson Valley, have been shooting weddings together ever since meeting at WPPI in 2019. “Everything was going great until the coronavirus pandemic hit,” says Aly, channeling not just other wedding photographers thoughts but small business people everywhere. Most of their clients postponed the big day,...
More »
