
HDSLR Video Essentials for Photographers
February 20, 2013
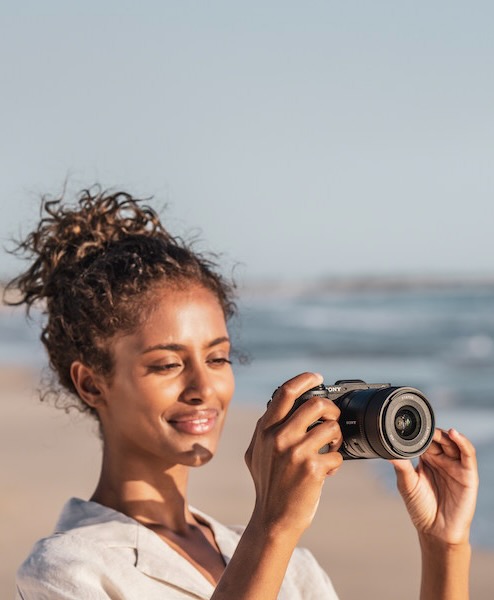
Because HD video has become such a prevalent feature in today’s DSLR cameras, at the switch of a button, you can now turn your standard DSLR into a movie-making machine. Many photographers are beginning to expand their portfolios to include video, but if you haven’t transitioned yet, doing so doesn’t have to be overwhelming.
Learning how to shoot HD video is a great way to expand your business by offering clients additional services without investing in additional equipment. Many photographers differentiate themselves through video capabilities while others use it as a new outlet for creativity.
As photographers, you likely understand composition and light, and can probably use your DSLR on manual mode (a must for video). That’s a great start! Video and stills, however, have a few key differences that you should be aware of when making your first video pieces. Here, we’ll cover a few suggestions for shooting video, from camera settings to shooting techniques to equipment that will help you yield professional results.
Resolution and Frame Rate
In order to shoot DSLR video, you must understand two key terms: resolution and frame rate; these settings play a vital role in the “feel” of the video you’re recording. You can achieve looks varying from cinematic to slow motion depending on these settings. Once you’ve grasped these terms and how they influence your results, you can start concentrating on movement, camera shake, angles and story-telling to create better results.
Resolution refers to the number of pixels that your camera is recording, for example: 1920 x 1080 pixels means that you are filming 1920 pixels horizontally and 1080 pixels vertically. Resolution also determines the fineness of detail of a video; you want to set your camera to 1920 x 1080 to provide the best resolution for shooting video.
Frame rate is generally listed as fps, or frames per second. It’s the rate at which your camera records video in consecutive images. Your selected frame rate will have a visual impact on the human eye. The human eye will perceive anything above 24 fps as motion, and you have a few options for what setting you choose:
24 fps is for a cinematic look. This is the standard at which most motion-picture films are filmed and what you see in the movie theatre.
30 fps is a little more fluid—common for web video.
50/60 fps is generally reserved for slow motion material. You are recording double the amount of frames you would normally, and when played back at half speed, it will playback in slow motion.
See your camera manual for how to set your camera’s fps. Some cameras cannot achieve slow motion (60 fps).
Shutter Speed
Ideally, keep your shutter speed set at twice the value of your fps; i.e. if you’re shooting at 30 fps, your shutter speed should be set at 60. Lowering your value from double the fps will show slightly blurred frames, while shooting a higher shutter than your ideal mark will produce really crisp frames that are “choppy” when played back. A quick guide is:
24 fps – Shutter Speed set to 50
30 fps – Shutter Speed set to 60
ISO
Keep your ISO as low as possible. Stick to using ISOs that are optimized to give you the best quality image with the lowest amount of noise. These include ISO 160, 320, 640, 1250 and 2500. Remember, the lower the ISO, the less noise!
Shooting Tips
Once you understand how to set your camera to shoot HD video, it’s time to start making “movie magic.” There are certainly new considerations once you start shooting video, such as: What should you do about camera shake? and How do you “pan” your camera fluidly? Don’t let those things overwhelm you. Learning to shoot HD video feels like the first time you held your first (D)SLR camera—it takes time, patience and dedication.
Keep it Moving
Movement makes shots more dynamic, whether your subjects move, or you pan your camera around them. It all adds higher production value. You’re probably comfortable posing your subjects while they’re still, but if you try this same static approach to video, the result is boring.
The solution? Add motion, action and interaction to your video. Remember to always record movement longer than you think you need (even once the motion has been completed) to make editing easier.
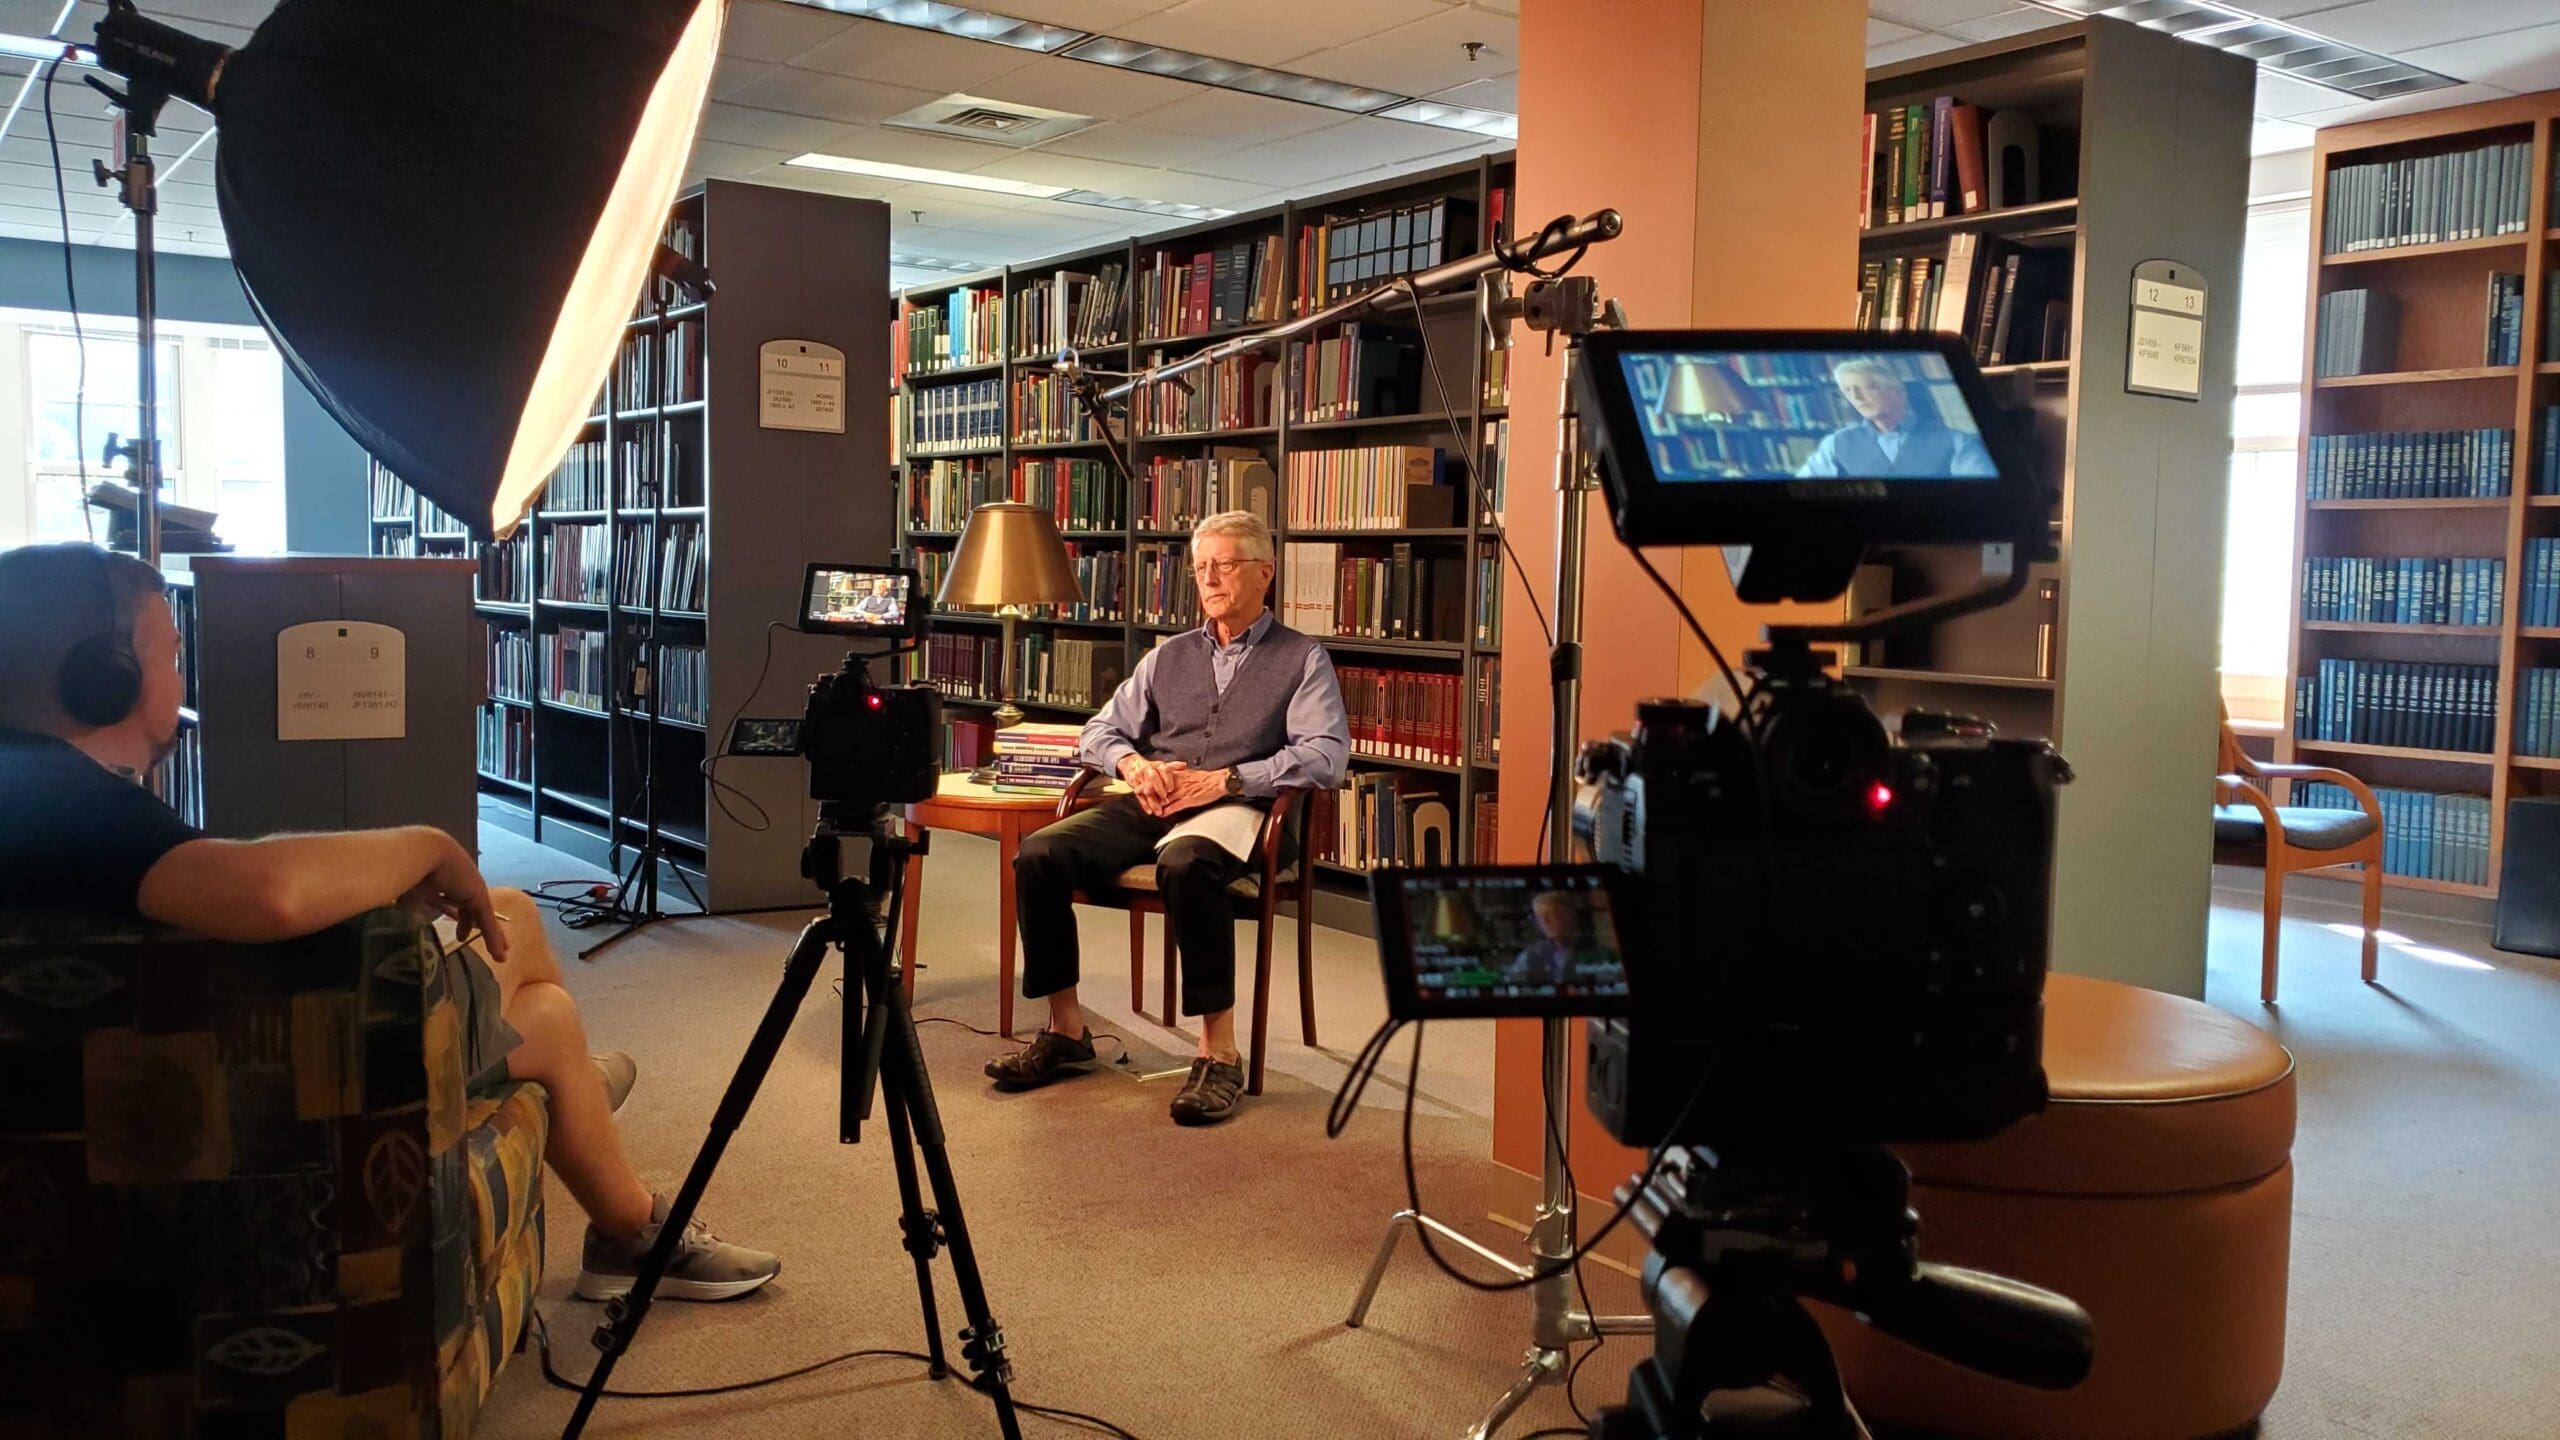
Try moving the camera as well; pans (lateral movement of camera) can be achieved by using a slider or tripod/monopod equipped with a fluid head. We currently use a Cinevate Atlas 200 with a fluid head, a Manfrotto Fluid Monopod, and, when building restrictions don’t allow for a tripod or monopod, Jeff uses a Vulture Equipment Works A2T that acts as a reverse monopod.
Sliders, tripods and monopods are relatively inexpensive, but add incredible visual impact in your video and produce a more high-end cinematic feel.
Be Steady/Avoiding Camera Shake
If you want a steady shot, don’t attempt to hand-hold your camera—it’s that simple. Even the steadiest of hands are too shaky for video. A tripod or monopod is a must.
Monopods give you additional mobility while still helping to stabilize your video clips. Whenever you’re using a larger lens, mount the lens to the tripod instead of the camera for additional stability.
Vary Your Angles
Try to capture all different angles for variety. The more footage and angles you have, the easier it will be to edit it into a final piece. Shoot more than you think you need.
Consider your favorite movie scene: it probably starts with a wide shot, introducing the scene. Then perhaps the camera moves in to introduce the characters. This medium shot is then followed by headshots, and then close-ups on some details in the scene. Instead of zooming the camera in on the scene, you should use different lenses and film a variety of angles to engage the audience. Don’t keep your feet planted.
Tell a Story
Why should anyone care? One of the most important elements of video is keeping viewer interest throughout the piece, so tell a visual story. Don’t film a random string of visuals—the audience will lose interest. Remember that stories have a beginning, middle and an end. This story doesn’t exactly have to be a narrative, but try to include some end visual goal or punchline.
It helps to create a storyboard for your concept prior to filming. Make a checklist to keep track of the scenes you want to capture, the angles you envision and your plot-points—and if all else fails, improvise.
Keep it Short, Sweet and Simple
If you’re trying to tell a story and you’re not recording an event (such as a wedding), keep it short. In general, a shorter edit is a better edit. Keep your audience engaged by editing your piece to between two and five minutes; any longer and you’ll bore your them, unless you have an amazing narrative.
Don’t worry! In that small time span, you can include many clips. Use quick cuts so that each clip is only played for a matter of seconds. Quick clips are visually stimulating and help keep the viewer interested and engaged.
It’s All Relative
Don’t forget everything you’ve learned as a photographer; adding motion doesn’t pardon you from forgetting basic lighting techniques. Truly beautiful visual pieces are a combination of storytelling, beautiful composition, stunning lighting and engaging camera/subject movement. Keep your backgrounds clean and simple, and use aperture to your advantage.
Don’t forget, there’s a learning curve to shooting video. You won’t master it your first time or your second—it’s just like photography… “Your first 10,000 frames are your worst.”
Jeff Rojas is a fashion photographer in New York City who spent the early part of his 20s studying photography while working full-time in a corporate office. Eventually he ditched the suit and tie to pursue photography full time.
Related Articles
A Trio of Announcements from Sony
July 14, 2023
Sony just announced several new products including the FE 70-200mm f/4 Macro G OSS II lens, the a6700—its latest APS-C mirrorless camera—and the Sony ECM-M1 Compact Camera-Mount Digital Shotgun Microphone. All three should be available in August but we got a sneak peek to share with you ahead of shipping. Sony FE 70-200mm f/4 G OSS II Most photographers (at...
More »
ADOBE UPDATES PREMIERE PRO
April 13, 2023
Just in time for this year’s NAB, Adobe announced some updates to Premiere Pro—the software that was used to edit 2023 Oscar-winning films such as Best Picture winner Everything Everywhere All at Once (which racked up a total of seven Oscars including Best Editing and Best Documentary Feature, Navalny). And while you may not have Oscar aspirations, Premiere Pro has...
More »
What’s Inside My Camera Bag: Filmmaker Jordan Bunch’s Go-To Gear for Documentary Shoots
August 5, 2021
If you looked inside the camera bag of a filmmaker, what would you see? Film guru Jordan Bunch reveals the gear he carries for with him on documentary shoots.
More »
