
First Exposure: Perfect Layers
November 1, 2011
Many digital imagers, particularly those who make their liv-ing at it, have found that the program they use the most is no longer Adobe Photoshop but Lightroom, or its Mac-tailored counterpart Aperture. Color correction, cropping, spotting, and printing tools can all be found in these two easy-to-learn pro-grams. Even so, they do have their limitations. Simply put, if you need to swap heads in a photo, or if you need to use Liquify to apply a digital tummy tuck, then Photoshop is your tool. But most everything else can be found in Lightroom or Aperture.
Built into both of these programs, especially Lightroom, is the ability to use third-party plug-ins. One of the companies vying to be a leader in this arena is onOne Software, located in Portland, Oregon.
Recently, onOne introduced what I believe to be the most exciting and useful plug-in for Lightroom and Aperture, Per-fect Layers. Perfect Layers adds the power of Layers using tools similar to those found in Photoshop. Perfect Layers is a breakthrough that increases the power of Lightroom and Aper-ture while streamlining the workflow when it becomes neces-sary to manipulate an image.
While Perfect Layers does not support the more advanced Photoshop features such as Smart Objects and Layers Adjust-ments, it will import these features and any changes or en-hancements previously made in Photoshop or Lightroom. What Perfect Layers will allow you to do, though, is blend im-ages together to create a perfect exposure balance between foreground and background, create composites of multiple im-ages for motor drive sequences, enhance colors through Blending modes, swap skies and heads, in less time than it takes to perform the same task in Photoshop.
I do not believe there has ever been a portrait and wedding photographer who has not had at least one group photo ruined by one of the subjects blinking, or preferred the look of one subject over the same subject in an overall better image. While this may have been more of a problem with film, when the im-age could not be previewed until after development, it is still a problem for digital imagers.
As part of a personal project, “Mothers/Daughters, Fa-thers/Sons,” I had the opportunity to photograph a mother and her four daughters. In figure 1, I preferred the mother and the two older daughters in the image on the right. Unfortunately, the youngest daughter is blinking in that image. In the image on the left I found I preferred the smile on the sister next to her.
Before jumping into Perfect Layers to make the swap I made virtual copies of both images, highlighted the copies, and then chose Perfect Layers from the pull-down menu in Lightroom (File>Plug-in Extras>Perfect layers), figure 2. This opens both images in a layer file in Perfect Layers.
The first thing I did was to rename one of the files so I know which is which. In this case I double-clicked on the top file and added ‘Blink’ to the file name. The file you want to mask should be on top, as it is in figure 3, so that the areas below will show through. If the wrong file is on the bottom, drag and drop it above the other.
The next step is to choose the masking brush from the tool palette on the left side of the screen and begin to paint out the parts of the image you do not want, figure 4. In this case, I wanted to take out both of the subjects on the left. At the bot-tom of the right hand palette, under masking, you can choose one of four mask viewing options: Overlay, White, Dark, or Grayscale. Overlay is the one I am using for this image.
When you are through painting in the mask, all you need to do is save it. Perfect Layers saves the file as a .psd (Photoshop Document file) using the name of the bottom image and ex-ports it directly to Lightroom (or Aperture). The entire process of opening the two images, masking the top image and saving the results took me less than three minutes using Perfect Lay-ers (figure 5). Were you to decide later to open the .psd file in Perfect Layers to do more work on the image, you would find that the layers would still be visible and workable.
Perfect Layers can do more than just swap heads. As an ar-chitectural photographer, I often run into problems that go be-yond the capabilities of Lightroom. For example, I arrived early to photograph a community center for a client. I knew the center stayed open until 7 p.m. and wanted to be ready to catch the fading light when the parking lot was empty. As I was leveling the camera the rainbow appeared, but unfortu-nately there were still cars in the lot. I captured the rainbow and then waited over half an hour until the last car had left. By that time the light and the sky were significantly different and the rainbow was long gone, figure 6.
After creating virtual copies in Lightroom I opened them in Perfect Layers. I renamed the rainbow image and dragged it to the bottom of the stack. The first thing I did was reduce the opacity of the top layer to 60 percent. This allowed the bottom layer to show through. I then used the Transform Tool at the top of the left side tool palette to line up the buildings, (figure 7). As is often the case, in the over half an hour between expo-sures the tripod was accidentally moved ever so slightly.
Although I could have as easily used the Brush Tool for this image, I chose to use the MaskingBug, an innovative tool cre-ated by onOne that is already finding its way into programs by other software developers.
The MaskingBug can be used to create either a rectangle or a circle on the image. This shape can be manipulated for angle and opacity by dragging the arms up and down or in and out. In figure 8 you can see how cleanly it created the mask right down to the sidewalk in a matter of seconds without having to brush and erase.
The MaskingBug can also be combined with the Brush Tool if you need to refine an area by adding or removing some of the mask. First I lowered the opacity of the top layer to 40 per-cent so I could see the cars on the Rainbow layer. Using the Brush Tool, I masked everything in the image except the cars. When I moved the opacity back to 100 percent, everything was in perfect alignment and the cars were no longer in the photo.
After saving the image I opened it once more in Lightroom and added further refinements, such as cropping, judicious use of the Brush Tool to open the shadows, saturation, clarity, sharpening, and the spotting tool to remove my own shadow, all tools available in Lightroom. The final image can be seen in figure 9.
While Perfect Layers can be purchased as a stand-alone pro-gram, it is also available bundled with onOne’s other workflow software such as Perfect Resize, FocaPoint, and PhotoFrame to name a few, in their Perfect Photo Suite collection. Perfect Layers can be used to create a layered workflow from within Lightroom, Aperture or on its own. It allows you to combine images into a layered file and the control the size, blending mode, and opacity. You can blend layers using the familiar masking brush, or the unique MaskingBug, an innovative fea-ture unique to onOne software. When you are through it will save your composite as a .psd file, preserving the layers so you can go back and work on them later or make changes.
onOne also sponsors many online webinars for their prod-ucts. For more information on Perfect Layers, Perfect Photo Suite, or other onOne software solutions, you can visit www.onOneSoftware.com or call (503) 968-1468.
Steve Anchell is an internationally published photographer and writer. He has authored many books on technique and has conducted photo-graphic and darkroom workshops since 1979. For more information on his workshops call (503) 884-3882 or visit www.anchellworkshops.com.
Related Articles
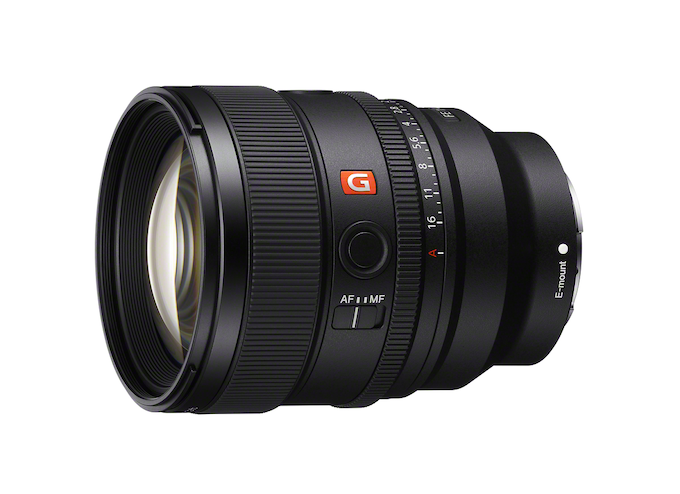
Sony’s Nex-Gen FE 85mm f/1.4 G Master II Prime Lens
September 24, 2024
For many photographers, a fast, 85mm prime lens is a dream lens. It’s perfect for a variety of portrait styles and can produce the dreamy bokeh that is the hallmark of large aperture glass. The latest 85mm prime on the market is the second generation Sony 85mm f/1.4 G-Master II. The original was introduced eight years ago, to meet (or...
More »
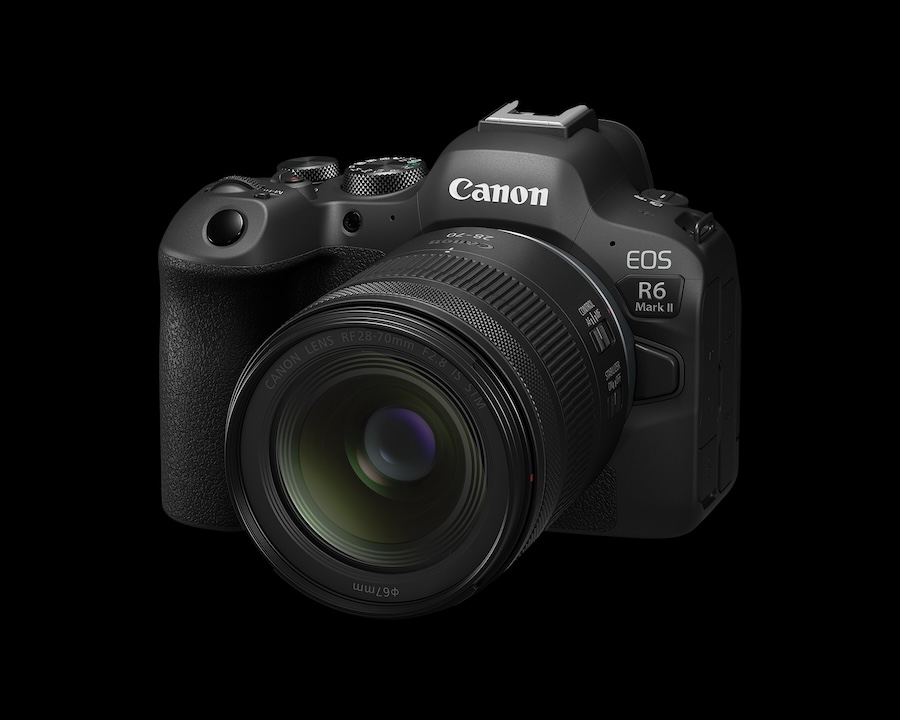
Canon Announces New RF28-70mm f/2.8 Zoom Lens
September 19, 2024
Canon released a new standard zoom with its RF28-70mm f/2.8 IS STM lens. This lens provides a versatile focal range similar to the RF24-70mm f/2.8 L USM lens but at less than half the price: $1,099 vs. $2,499. Granted the L designation of the older lens is, at least partly, responsible for the price difference but the new 28-70mm will...
More »

Canon Launches Two Pro-Level Cameras
July 18, 2024
Canon has officially launched two new, pro-level R-series mirrorless cameras: the 24-megapixel EOS R1 with its high speed performance and the 45-megapixel, high resolution EOS R5 Mark II. Not surprisingly, the R1 with its 40fps burst shooting will appeal to sports photographers and photojournalists—hence its built-in Wi-Fi and Ethernet. Of course, we expect to see this camera in action at...
More »
