
Tips + Techniques
Fast Workflow: How to Button Up Your Post-Production
December 14, 2022

I consider “workflow” to be the process of handling RAW files from the moment they’re written to my memory card to the moment they’re done being copied to a client gallery in the cloud. Being that I create around 250,000 images a year, I’m constantly thinking of ways to optimize my post-production process and photo workflow, and I’m always curious about what other people do with theirs.
[Read: Retooling Your Photo Business in Difficult Times]
Every single one of us has a different tolerance for risk versus convenience, which informs all aspects of our workflow and post-production process. You might not agree with everything about my approach, but in my 2,000,000+ images made so far in my career, I’ve never lost files due to data corruption or poor file management. I hope you learn something new from this article where I explain these steps as well as the video where I show you how to do it (below).
As much as I appreciate taking a deep and technical dive into all aspects of my photography, it’s my belief that at the end of the day, you should be positioned so that your post-production process and workflow mantra is “set it and forget it.” Every time I have to manually pop in and adjust some aspect of my workflow, I try to come up with a way that it can be automated, or adjusted for as early in the process as possible—particularly when it comes to importing and backing up new work.
[Check out the “Photo Business Software to Help Run Your Brand”]
An article of this length might seem like this is definitely not “set it and forget it,” but the truth is that once you’ve done the legwork of implementing these steps, there’s not much else to it. I have three backups of everything after import (five if you want to count Smart Previews in Lightroom and Gnarbox) without having to do anything other than hit “import” in Lightroom.
Post-Production Process: Image Inception
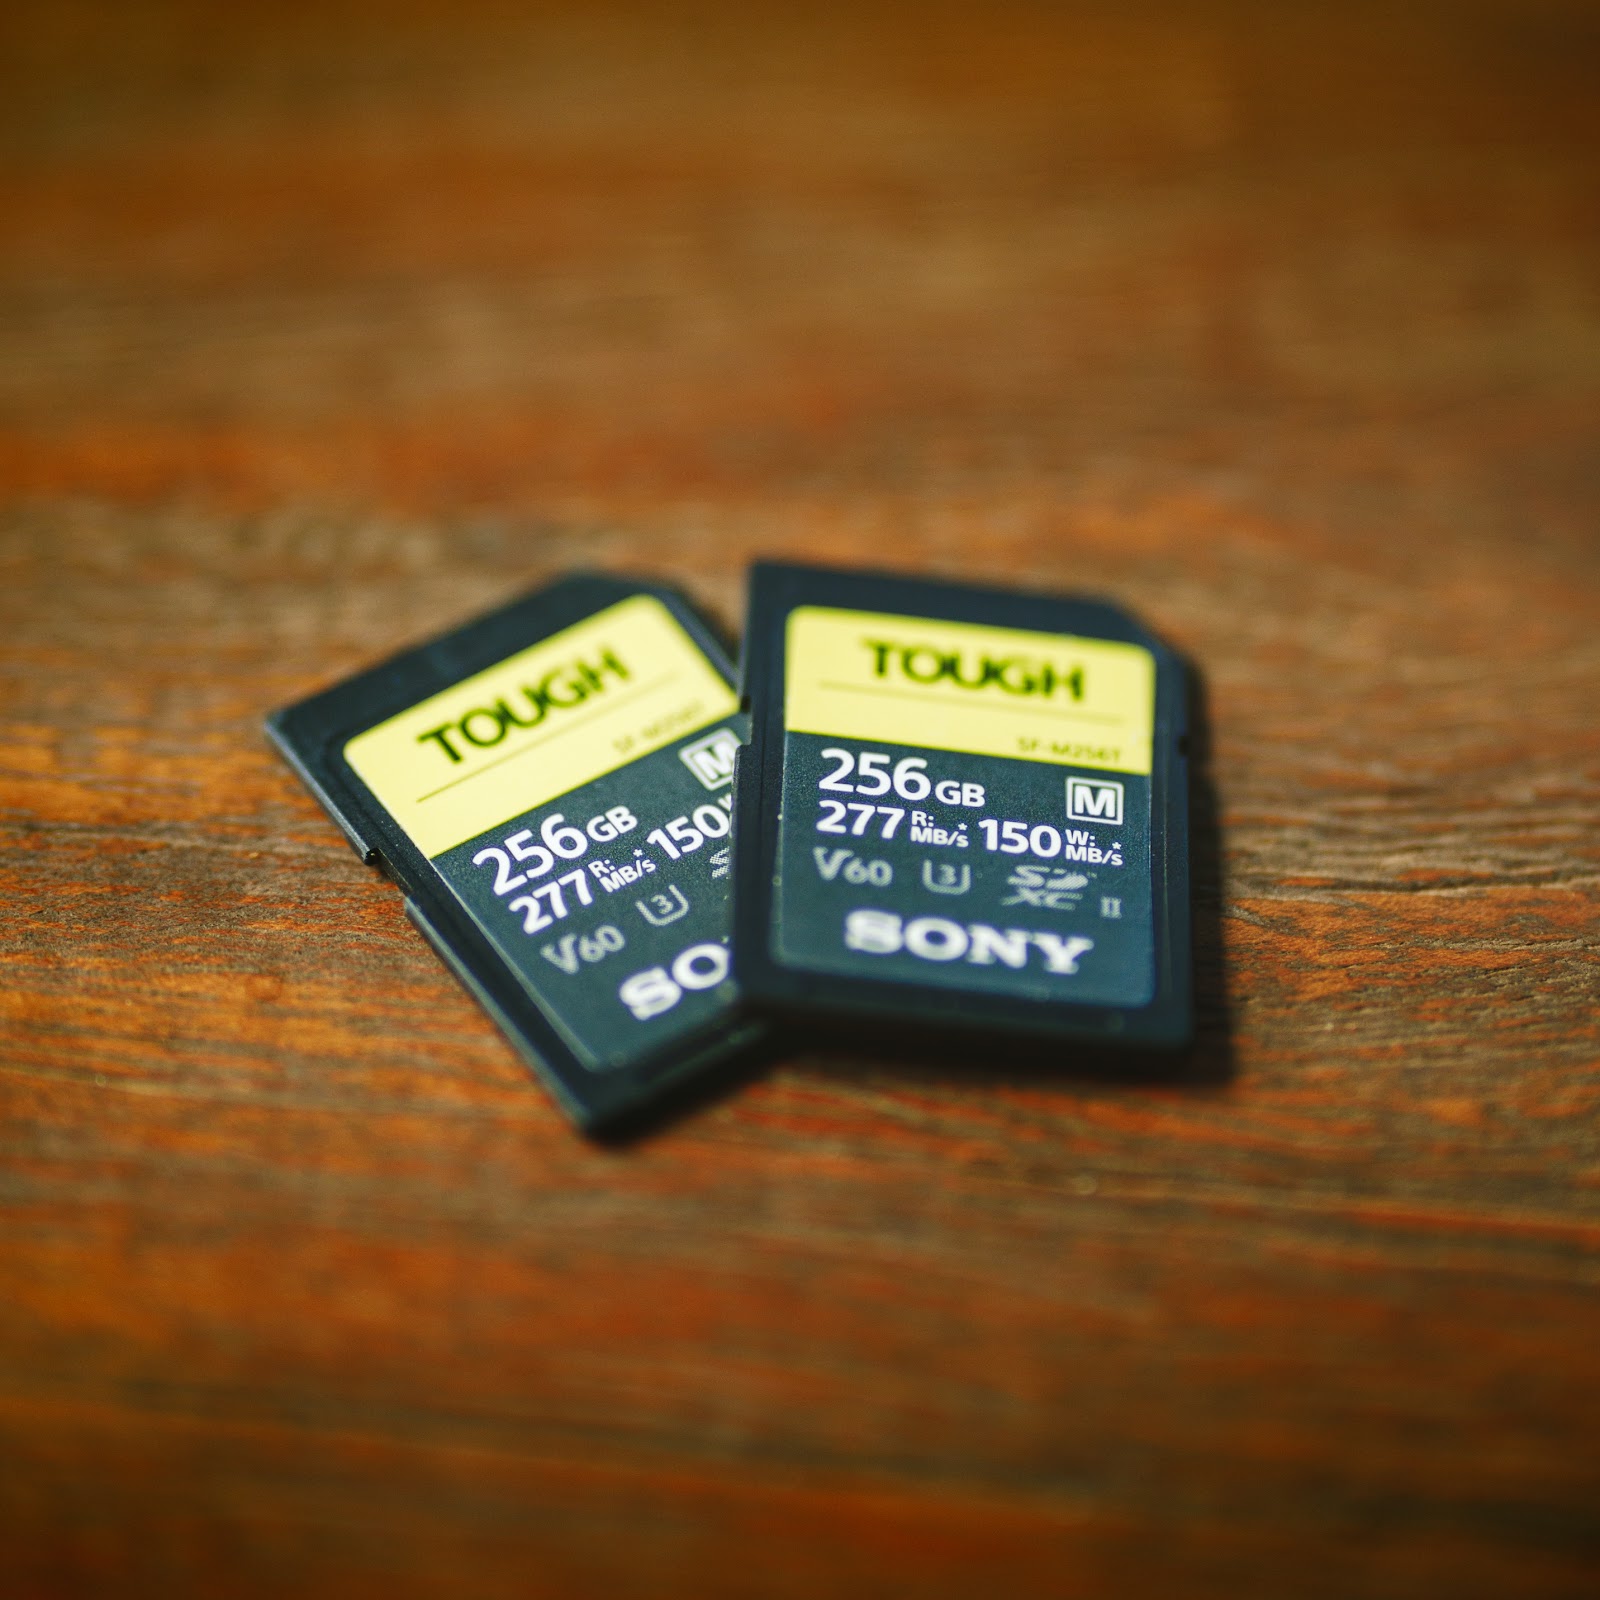
I could write an entire article about memory cards, but I want to simply state that I use two 256GB Sony M Series Tough cards. They are extremely rigid and weatherproof. I’d recommend the G series if you need faster read/write for 8k video or something, but for photographers, the M series should do just fine.
I’m primarily a wedding photographer, and the average size of a full wedding of RAW images across two camera bodies is 150GB, so why do I use 256GB cards? Human error:
1. I am way more likely to misplace, mix up or lose a memory card that’s ejected from my camera at any time. So I try to minimize the need to do that as much as I possibly can, especially during a shoot.
2. I never format a memory card unless I can verify, sitting at my desk in that moment, that the images I’m about to format on an SD card are backed up in my workflow and properly imported into Lightroom. I’ve had just a few too many instances where I’ve shown up and started documenting a wedding, got 10 to 15 minutes into shooting and realized that I did not format the memory card. Too late now! I can’t erase the start of the day, but with another 350GB of headroom across my two 256GB cards, I can continue to shoot without fear of running out of space, and without having to introduce the other (riskier) potential for human error in swapping memory cards out.
After Shooting Workflow
Whenever I’m on assignment an hour or more from home, I create an immediate offsite backup of my images. My hopes are incredibly high for something like image.canon to someday serve as a wireless backup directly from the camera as I’m actively shooting, but we’re still a ways off before we have transfer speeds that are practical for huge RAW files. Still, hopefully with the rollout of 5G, it might someday be a reality to shoot wirelessly as the primary solution for image transfer.
Until then, I highly recommend standalone tools like Gnarbox or WD My Backup Pro. These both have incredibly advanced wireless hotspot, Dropbox integration and more, but I’ve found that to complicate matters (particularly with battery life and charging) far too much. It’s best to think of them as standalone dumb computers whose sole purpose is to create a second physical location for your RAW images. Personally, I never connect these devices to my computer as part of my workflow, and I try to avoid working from them as much as possible. I simply import and let the files sit…until I need to purge and make room for new images.
Import
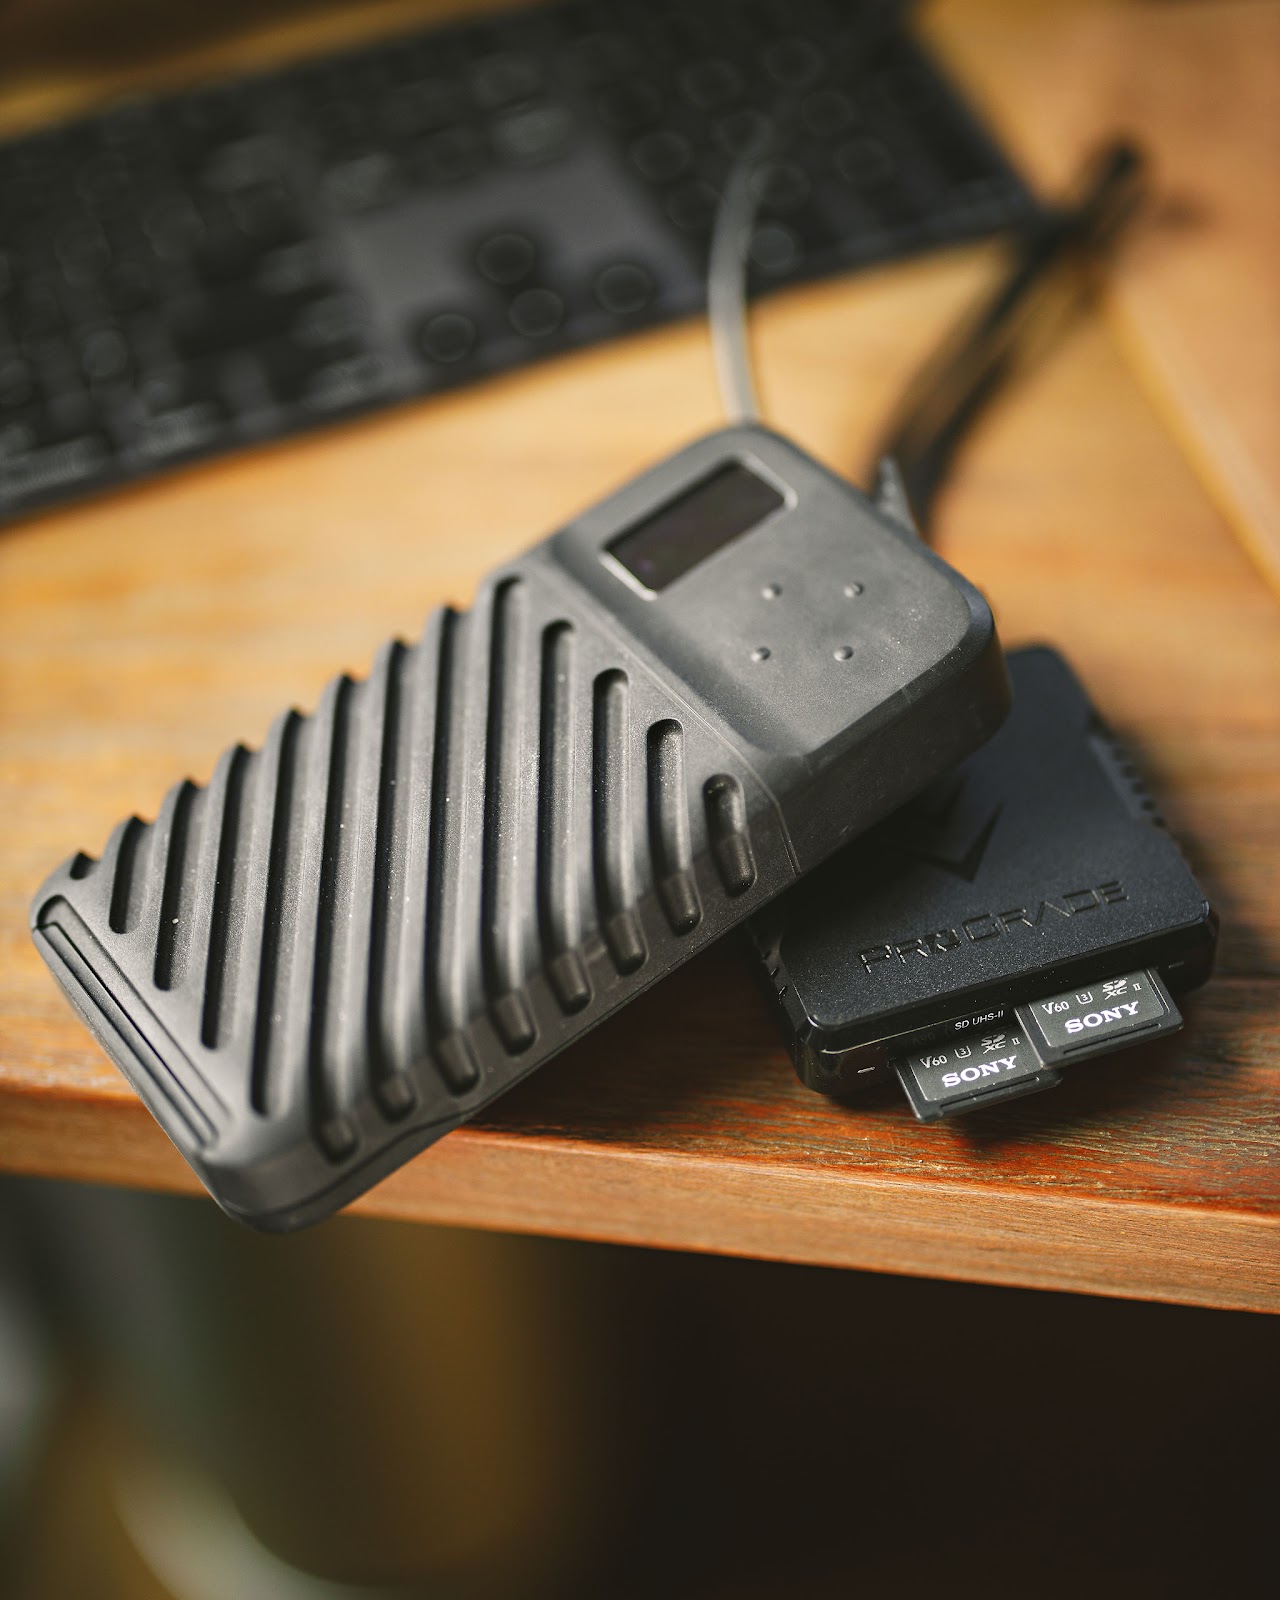
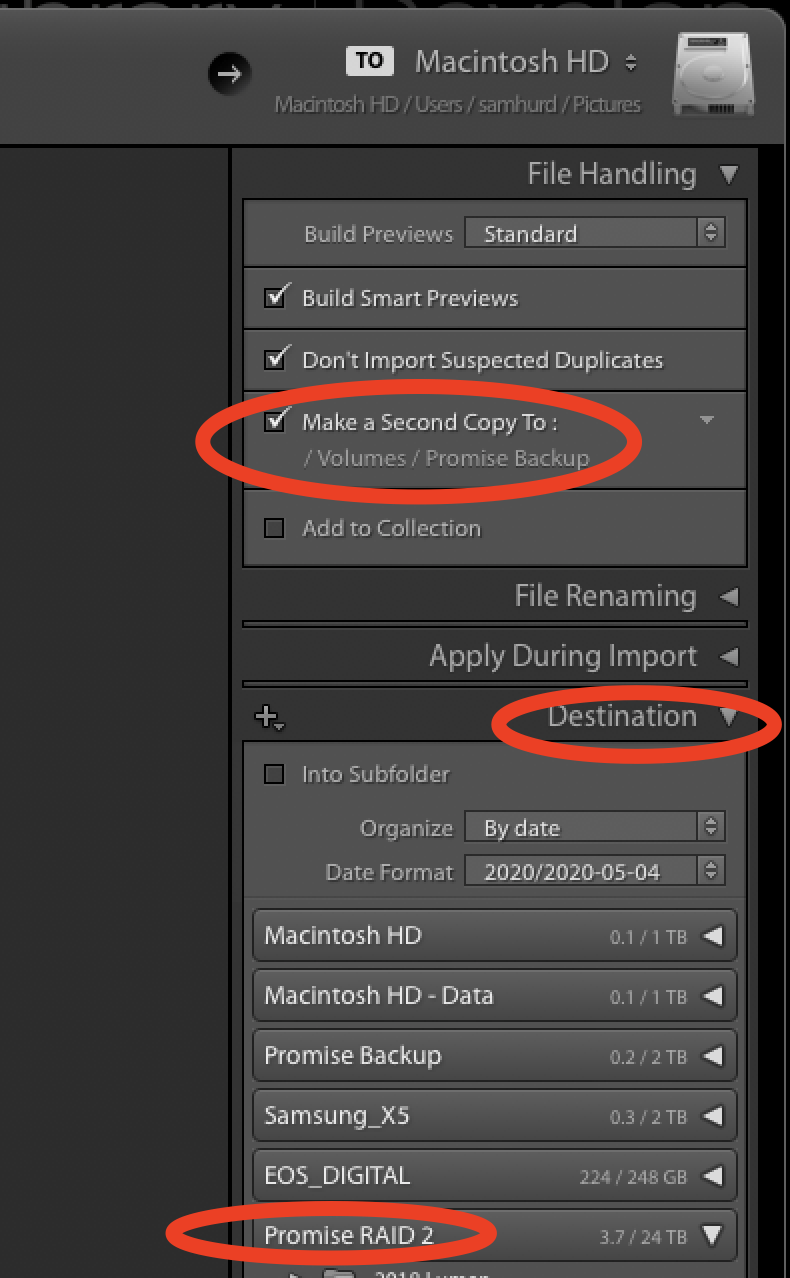
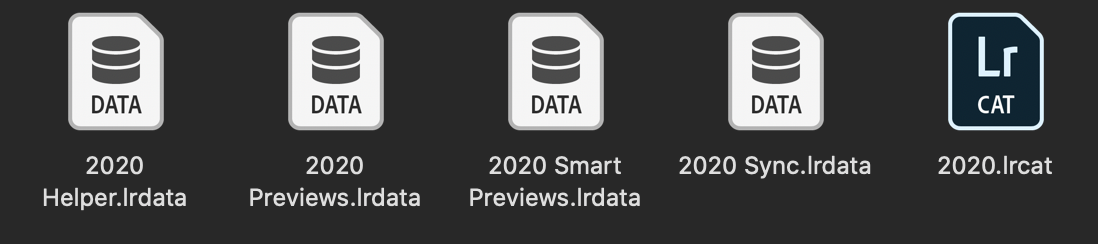
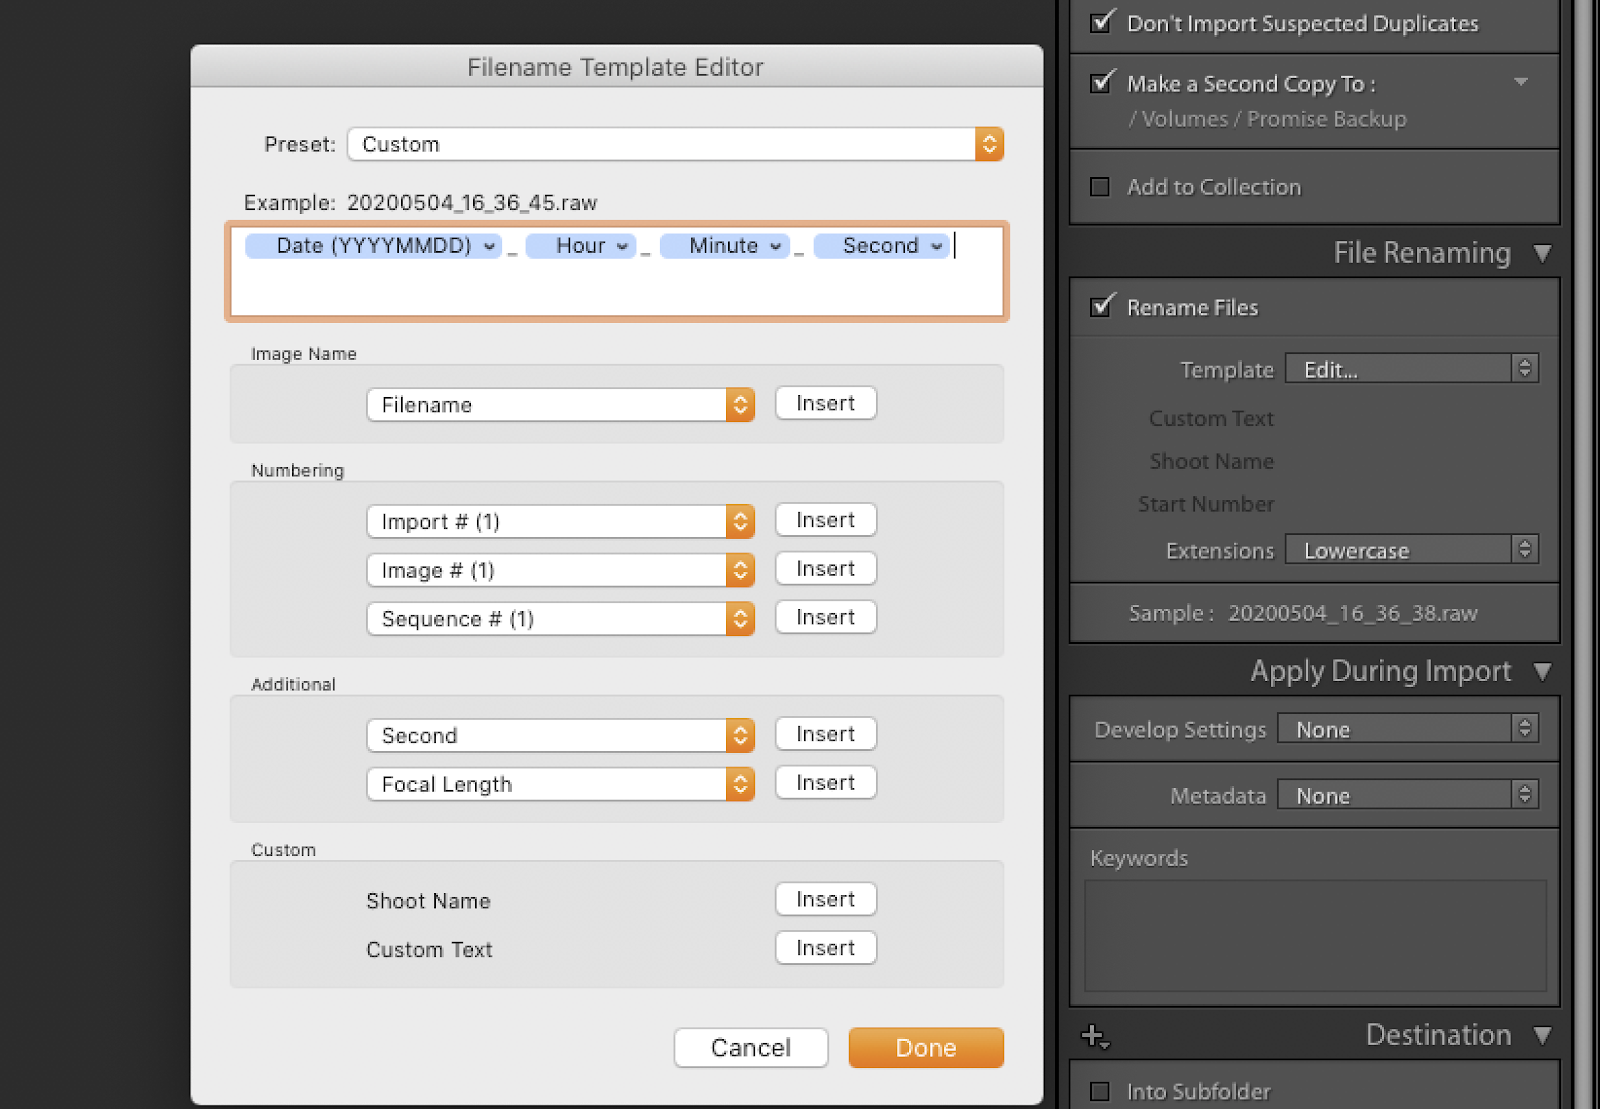
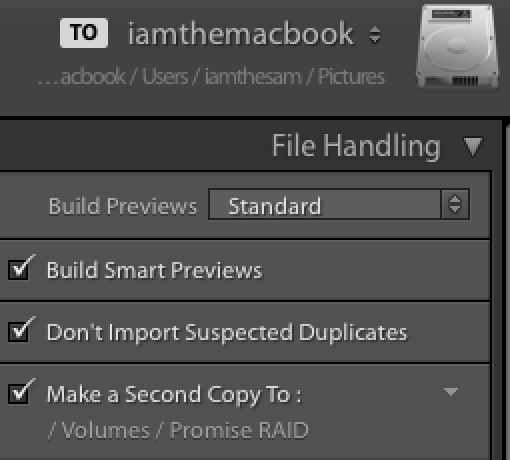
Once I’m back at homebase, I import all my RAW files directly from the SD cards (both of them at the same time) using this USB dual SD card reader, or directly from a USB-C cable connected to the camera itself. I manage the import locations in my workflow using Lightroom’s built-in tools in the Import Dialog. Even though I’ve already imported my RAW images offsite to my Gnarbox, I believe it’s critical that you make another backup upon import into Lightroom. It makes it very easy to do this by selecting the “Make a Second Copy To” option (see below). I use one Lightroom catalog for each year.
I import my RAW files to two separate physical external drives that are connected to my computer over Thunderbolt/USB-C.
I recommend you never import RAW files to your computer’s internal OS HD as part of your workflow—however, that is where my Lightroom catalog itself sits.
With your two external hard drives attached (I recommend each be configured as a RAID 5), you set one destination to make a second complete copy of your RAW images—mine is named “Promise Backup”—and the other destination is where you’ll copy the RAW files you’ll actually do your editing from. That’s the location set in the “Destination” drop down. Mine is called “Promise RAID 2.”
I use the Lightroom built-in tool to rename my files in Lightroom to be the year, month, date, hour, minute and second. I highly recommend this approach for your workflow so that you never have two images with the same filename, ever.
File Organization/Cloud Backup
How you keep your images organized will be highly dependent upon how your brain works, but I keep everything in auto-labeled dated folders, and then I add keywords upon import for identifying aspects of the shoot—client names, location, etc. To simplify what work I have delivered already versus what work I still have, I have a root folder of RAW files called “2020” and two folders within that called “Delivered 2020” and “In Progress 2020.”
When I’m done uploading the edited files to my client galleries, I click and drag the dated folder from “In Progress” to “Delivered.”
Note!
Any folder or file you click and drag in Lightroom will move the folder in Finder automatically.

I have backblaze monitoring the “In Progress 2020” folder so that anytime anything is added, that’s immediately started to be backed up to the cloud. This would mean that any imported but undelivered RAW files from client work are stored safely in the cloud until I’ve delivered the high-res edited files to the client gallery.
Culling
After images are imported, I pull up the folder of images from whatever date I want to work on and, in Library Mode only, I start culling in potential keepers that I intended to edit using the “Flag” marker.
[Read why you should be “Getting Your Photos in Newlywed Hands Before the Night is Over”]
After a full pass of the entire set of images, I’ll make another pass, rating images that might be suitable for a wedding album, blog or slideshow with two stars. Images that will hit Instagram get three stars. And at the end of the year, I sort all my three stars and mark four stars for my end-of-year review post. From there, I mark five stars on an image that will be in my website portfolio.
Editing
All editing is done using pre-rendered Smart Previews in Develop mode (see the steps for Lightroom speed optimization below). Editing from Smart Previews will yield a massive performance boost for your workflow. No matter the original resolution of your camera’s RAW files, Smart Previews will render 2560px DNG files for Lightroom to work with.
You can actually export JPEG files from your Smart Previews, which provides yet another “sort of” backup if your external hard drives and cloud backup were ever lost or corrupted.
Export/Delivery
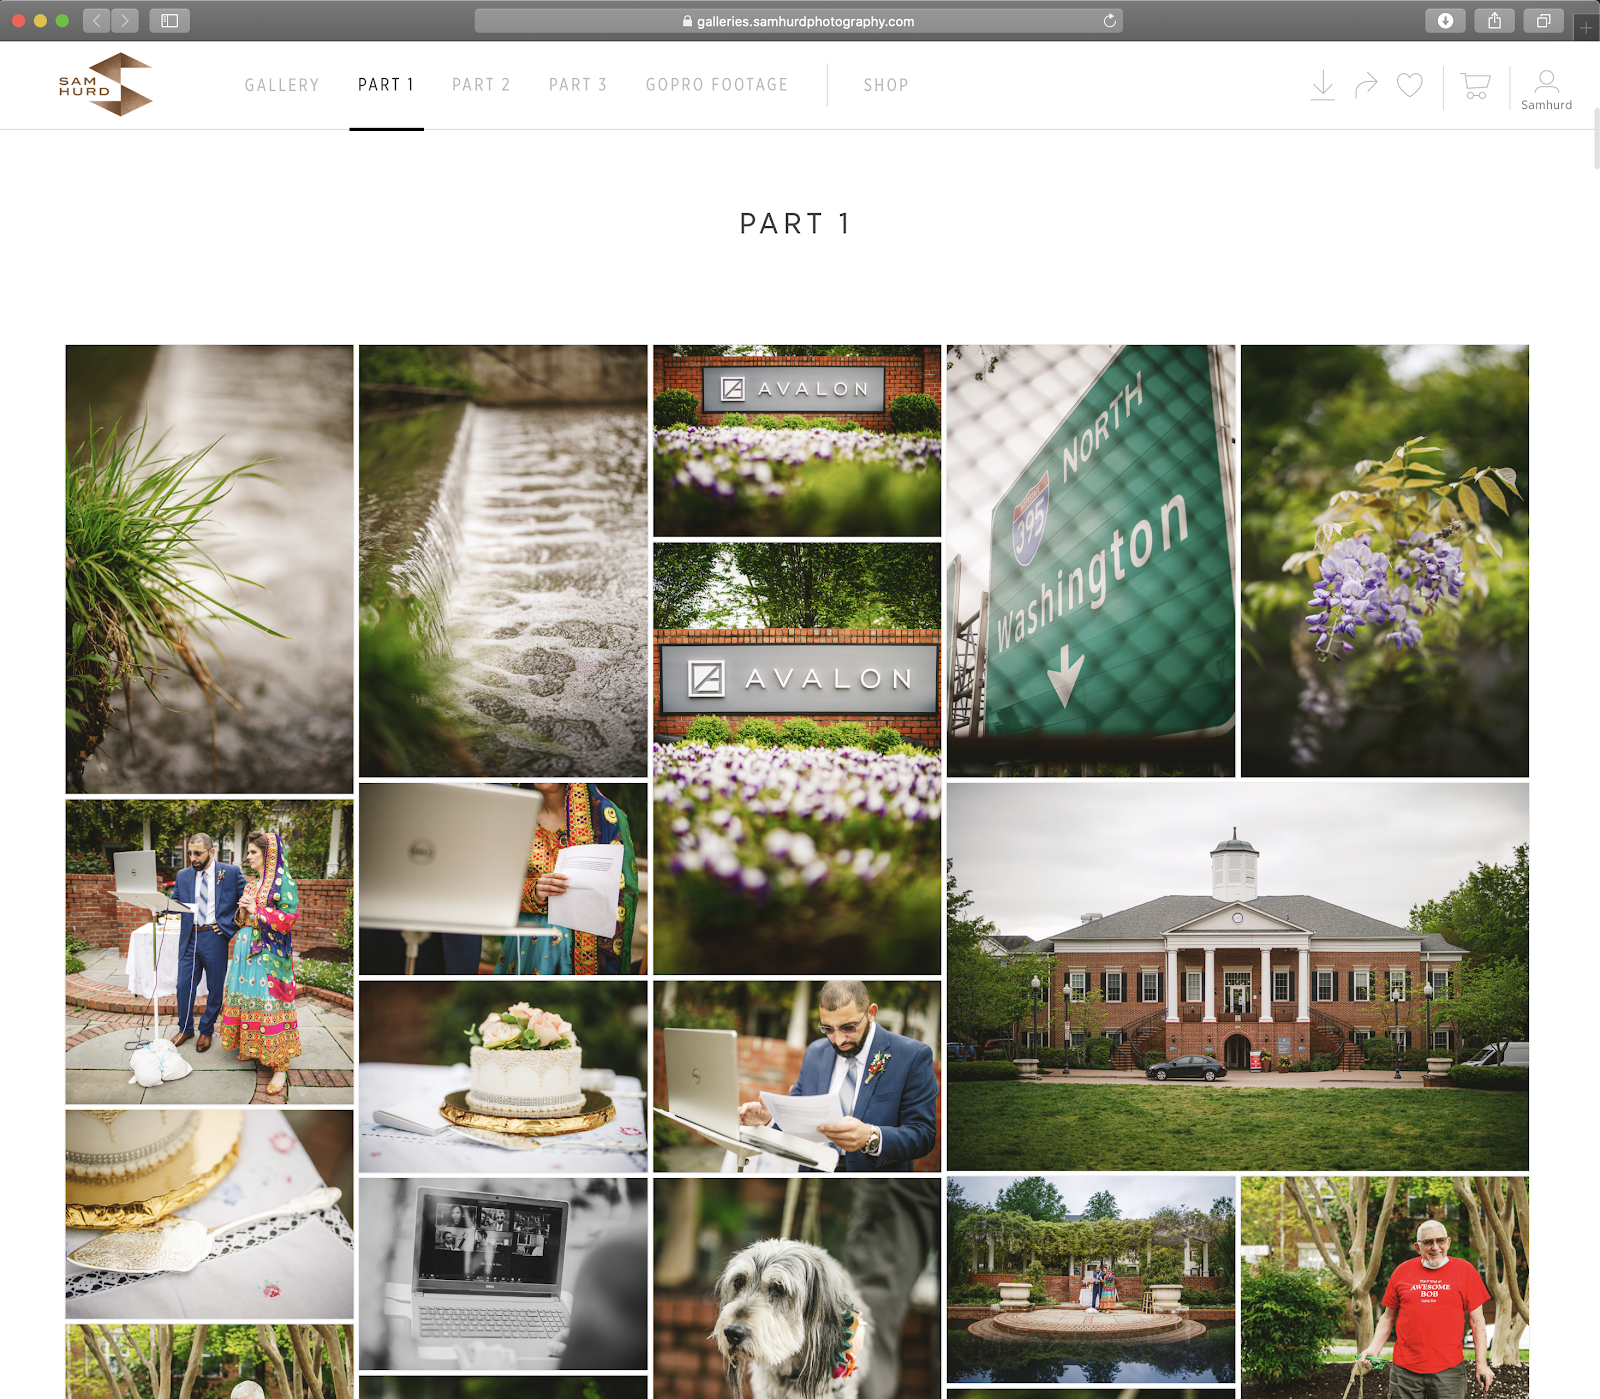
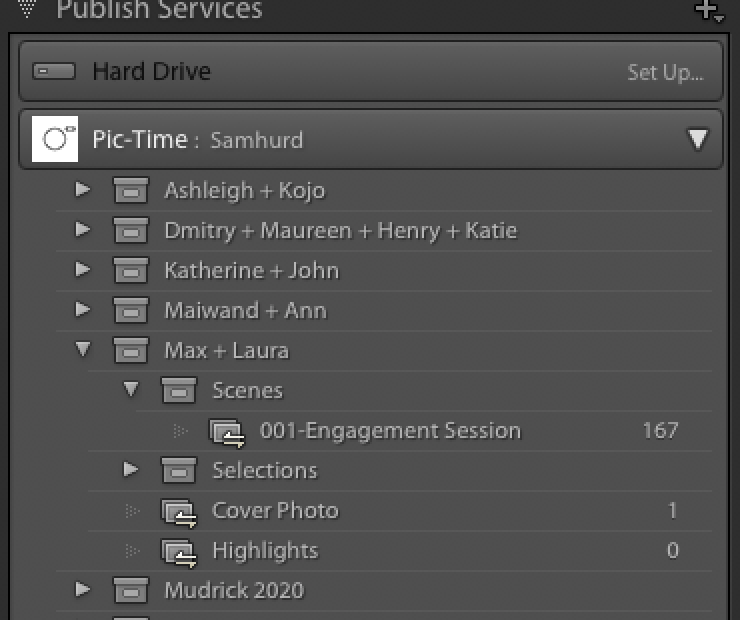
I utilize a plug-in built directly by my gallery host to upload JPEGS directly out of the Lightroom to my client online galleries. I never have a folder of JPEGs on my hard drives as part of my workflow. This plug-in takes the edited RAW files and automatically sends the converted JPEGs to Pic-Time’s servers.
Pic-Time is my current client gallery solution. It has a huge array of tools and preconfigured marketing apps that make running sales ultra simple. I actually created an app in partnership with them that lets you offer your own clients the ability to annually subscribe to keep their galleries online. It’s called the Existing Gallery Backup app, and I made a separate video explaining it here.
The beauty of the Pic-Time publishing plug-in is that you can manage your gallery names and subcategories all from Lightroom directly. You don’t have to fragment your workflow with separate folders of JPEGs that are then re-labelled manually in a web browser or anything. It just works.
Added Bonus!
Say you have an already uploaded image to your client gallery, but you make an edit adjustment in Lightroom. The plug-in automatically recognizes the image as “modified” and you can simply hit “publish” again; the previous version will be replaced with the latest and greatest.
That’s my workflow from beginning to end. Every single one of these items can be discussed at length, but I’ve tried to simplify everything.
Separate from this workflow, I want to present you with five easy steps to optimize your Lightroom catalog for speed.
Optimizing Lightroom for Speed on Any Spec Machine
Back in 2015, people didn’t believe that I used to do the bulk of my culling and editing on the low spec’d MacBook (yup, the one-port version). I’ve always had a two-machine desktop and laptop setup, and utilizing “target disk mode,” I made this setup seamless. I would render all standard and Smart Previews using my powerful desktop, and then do all my culling and editing on my smaller MacBook whenever traveling, with zero speed issues. I’m not going to get into target disk mode here but instead focus on the simple steps to enable ultra-fast Lightroom response times on virtually any machine.
I made a very detailed video (above) about how to set up and render things properly in Lightroom. It’s around 15 minutes long, but that’s mostly just because I’m being painfully clear and slow in my explanation. I recommend you sit down with a coffee or wine and play/pause your way through it if you’re ever having any slowness in Lightroom. You hardly need a fully spec’d machine to run Lightroom as fast as you’d ever need. You just need to do a few simple things.
Here’s some textual explanation of things, along with direct links to the products I use. I’ve written these suggestions assuming a MacOS setup but many of the steps work fine for Windows, too.
Editing in the Develop mode won’t be nearly as fast image-switching in Library mode, but that’s okay! It’s still very very fast (you should never see the “loading” indicator) and the fact that you’re making detailed edits in Develop mode means you probably don’t need it to be as fast. For non-detail editing of just exposure and white balance, I recommend the Quick Develop panel in Library mode.
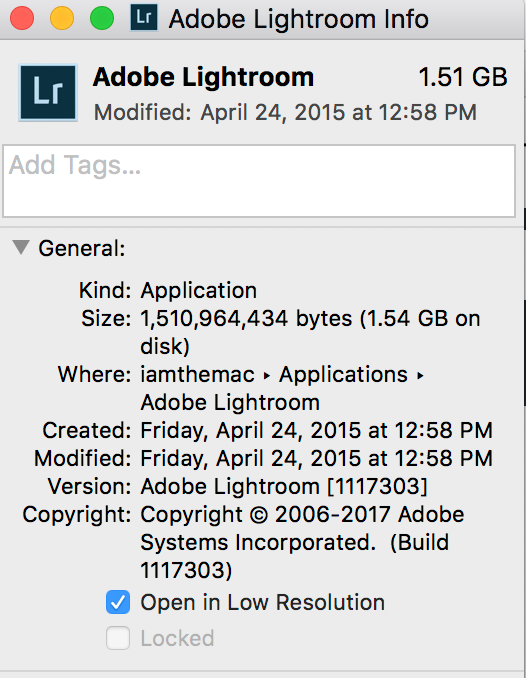
1. If you have a retina display monitor, open everything in low resolution mode. Make sure it’s checked in the “Get info” menu of the Lightroom application.
Important Post-Production Process Tip!
Make sure you’re right clicking the Lightroom App Icon and not the Lightroom folder icon. See my video for exact how-to.
If you’re wondering “why do I have a retina display if I can’t use it in high res?” Well, you still see all the beautiful range of colors a retina display provides but you don’t get the unnecessary high-res rendering that slows your machine way, way, way down. The trade off is worth it. If you don’t have a retina display then don’t worry about this step.
2. Import from memory cards with standard previews (not 1:1 or anything else) and Smart Previews. This takes a while. Nothing but a faster physical machine will change this, but I typically render this on my 5K iMac while I sleep. It takes a few hours.
Post-Production Process Tip!
If you don’t care about seeing your edit preset applied as you cull and you want Lightroom to act exactly like PhotoMechanic (I do not recommend this), then instead of “Build Preview: Standard,” choose “Build Preview: Embedded and Sidecar.” This will instantly pull the embedded JPEG preview from the raw file with no processing or wait time.
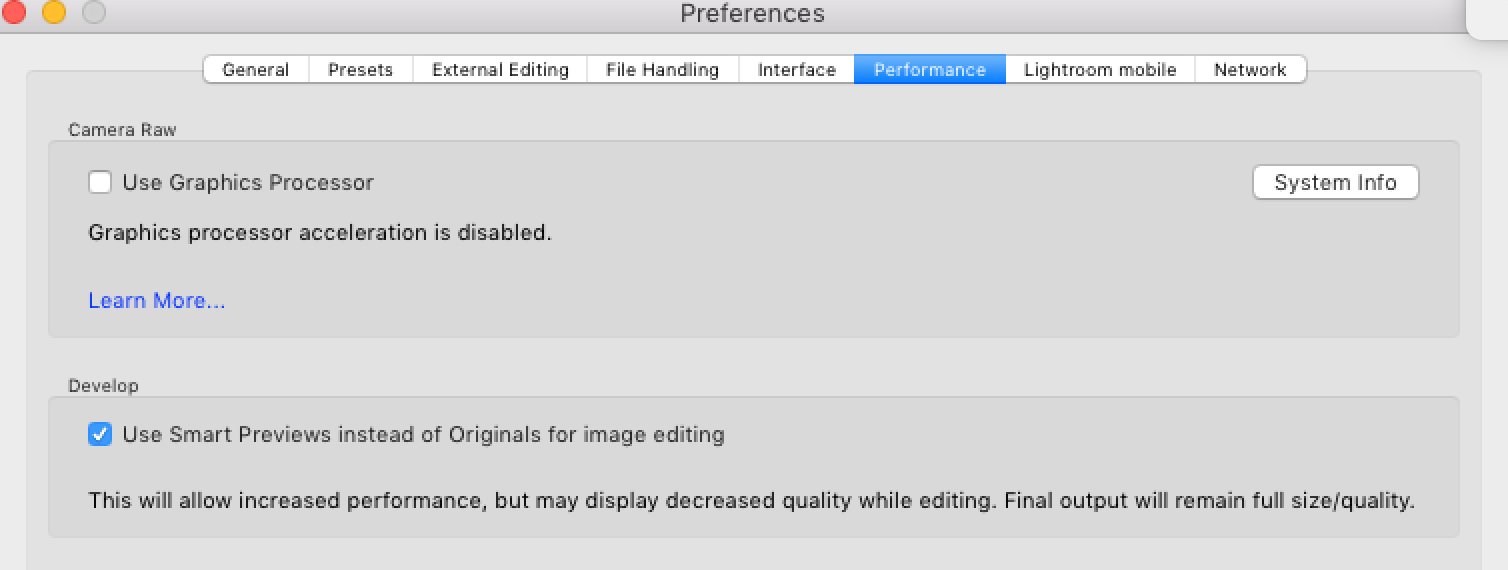
3. Go to Preferences > Performance and uncheck “use graphics processor.” Check “use smart previews instead of originals.”
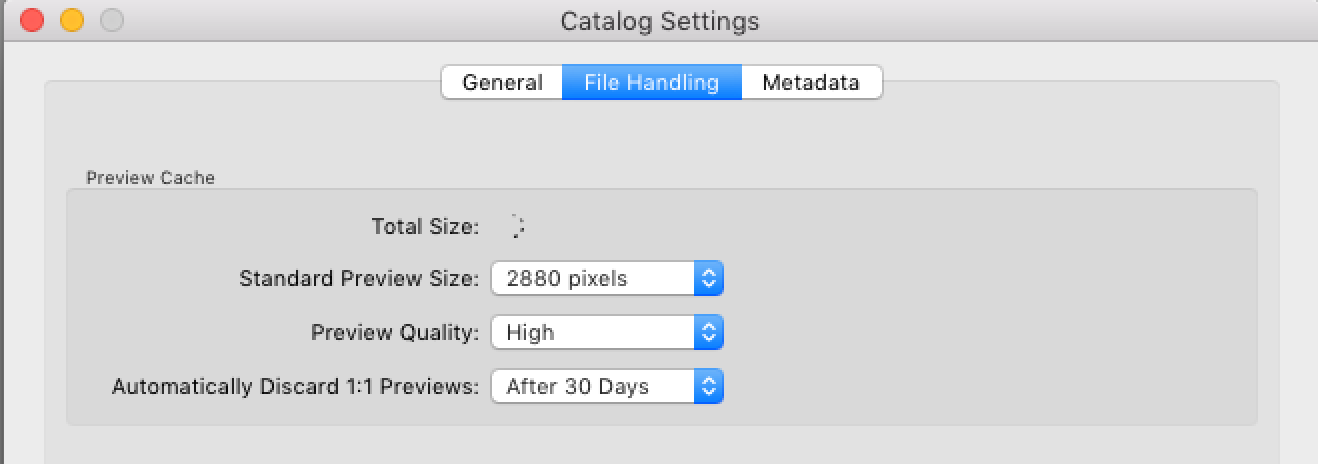
Also, make sure these resolution settings are set:
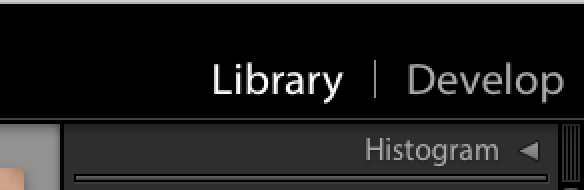
4. Minimize your histogram everywhere. You’ll see an instant huge performance boost.
Done. Welcome to the #fastlightroomclub. Feels good, huh?
If you’re still having issues, please make a screen recording of your Lightroom slowness and post it here. I should be able to tell quickly what’s going on!
Sam Hurd is a wedding photographer based in Washington, D.C. A pioneer in prism photography and the “ring of fire” effect, he was chosen as a Rangefinder 30 Rising Star of Wedding Photography in 2013.
Related Articles

Guide to Photographing Weddings in Cathedrals and Temples
April 23, 2024
Photographing weddings in dark indoor environments like cathedrals, temples, and other religious structures present unique challenges and opportunities for photographers. The low light, the intimacy of the venue, and the solemnity of the moment require a delicate balance between technical skill and creative vision. This guide is designed to help photographers navigate these challenges, ensuring that every shot reflects the...
More »

Fine Art School Portraits: Get Started Today!
April 18, 2024
In my fourteen years of growing my custom portraiture business, one venture stands out as exceptionally beneficial: the launch of my Fine Art School Portrait service. Providing Fine Art School Portraits for select Seattle area schools not only brings in significant profits, but it also keeps my portrait bookings steady and eliminates slow seasons. Having photographed thousands of children ranging...
More »

In One’s Own Skin: Beautifully Real Self Portraits
April 17, 2024
I’ve long felt disenchanted with the contrived. I suppose that’s why I took a bit of time away from self portraits. It’s more challenging to capture something natural, authentic, and less curated when first you have to set up your camera, establish your camera settings, and get into place. Recognizing that self portraits have always been the catalyst for evolution...
More »
