
Software
Hands-On with DxO PhotoLab 6 and ViewPoint 4
November 2, 2022

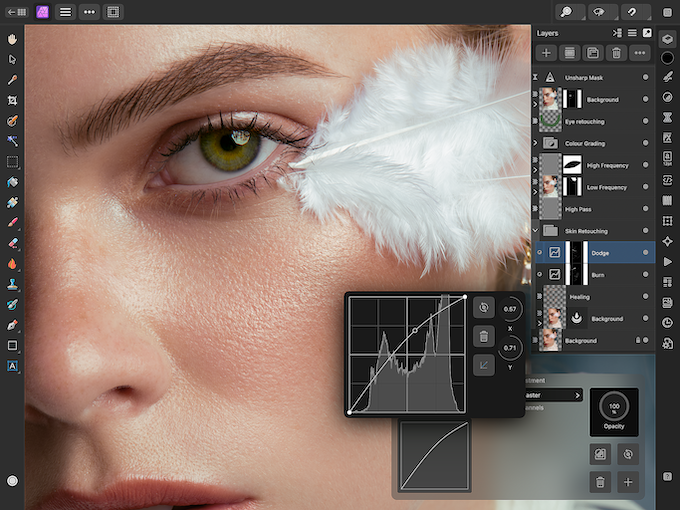
The new DeepPRIME XD tool is displayed along with the other noise reduction tools in the right panel. This new version (v.6) updates DeepPRIME with DeepPRIME XD (eXtreme Detail). The updated version uses machine learning to provide greater noise reduction with improved detail enhancement and color for images captured at the ever-higher ISO speeds available on the latest cameras.
When DxO Optics Lab folded the Nik Collection into DxO Optics Pro in 2017, the software was renamed to DxO PhotoLab. That program joined the growing number of photo imaging softwares that add extended capabilities to a raw file processing program at a lower cost and without the need for a subscription. Five years later, DxO PhotoLab 6 builds on the ever-increasing feature set of previous versions with new and enhanced AI technology that improves image quality and the user experience in areas crucial to professional photographers.
PhotoLab 6 is available in two editions. The ESSENTIALS edition allows installation on two computers for $139 while the ELITE edition, with additional features, allows installation on three systems for $219. Both are available for Mac and Windows platforms. I worked with the ELITE version.
DxO Viewpoint became part of the DxO family several years ago, providing the ability to globally fix geometry and perspective. Version 4 increases these abilities by addressing control over local image areas and support for Apple Silicon hardware.
[Read: DxO’s Nik Software Celebrates 25 Years with 25 Presets]
ViewPoint 4 is available as a separate program that at you can use as a panel in DxO PhotoLab, as a standalone program, or as a plug-in for Adobe Photoshop Lightroom Classic, Adobe Photoshop, and Adobe Photoshop Elements. New users on Mac or Windows will pay $99. Upgrade pricing is available for previous users of both programs.
I tested the ELITE version of DxO PhotoLab 6 on Mac and Windows with Viewpoint 4 available as a panel in the program. I also looked at ViewPoint 4 as a standalone.

DXO PhotoLab 6: What’s New
Version 5 of PhotoLab introduced DeepPRIME noise reduction. DXO PhotoLab 6 updates DeepPRIME with DeepPRIME XD (eXtreme Detail). The updated version uses machine learning to provide greater noise reduction with improved detail enhancement and color for images captured at the ever-higher ISO speeds available on the latest cameras. I also found it very effective at removing noise from high ISO images captured by my earlier Nikons. The original DeepPRIME from version 5 remains.
The ability to soft proof images is also new in PhotoLab 6. This gives you the ability to monitor how the image will look on a specific display or printed output. DxO has also re-engineered the program’s color processing algorithms to provide a new enhanced extended color space.
A new ReTouch tool is available in PhotoLab 6 for healing and cloning. You can fine tune ReTouch with brushes and, as with all of the available tools, it is non-destructive. The tool also allows you to transform the clone source through mirroring, rotating and scaling
While PhotoLab does not rely on a catalog system as with some other raw file processors, version 6 extends its PhotoLibrary system with more complete support of Exif and IPTC standards. New to version 6 are color labels for easier organization and management of images.
ViewPoint 4 features a redesigned toolbar, but the more important change is the addition of the ReShape tool. This new tool provides the ability to locally adjust areas of a scene. You can warp and repair individual areas using the tool’s customizable grid and extensive control points to perfect architectural images and improve group portraits.

New to ViewPoint 4 is the option to add guides to more accurately align horizontal and vertical elements. Among the upgrades in ViewPoint 4 are the ability flip and mirror images and enhanced integration of the crop and horizon tools.
PhotoLab 6’s User Friendliness
It will take some time for new users to come up to speed with PhotoLab 6, although they will likely find that it is worth the effort. By downloading and saving the correct DxO Optics Modules for your camera and lens system, PhotoLab 6 automatically applies corrections so you don’t have to deal with them. With these adjustments as a starting point, you can concentrate on your image adjustments without concern for lens distortion, vignetting, etc. You have the option of choosing to apply all of these corrections, only the optical corrections, or no automatic corrections at all.

The interface takes some getting used to, but you can access many of the more common tools in the toolbar above the preview image without searching through panels to the right. Also available is an Advanced workspace that shows all the available tools in the right panel of the Customize mode, and it is the one I chose to use.
I didn’t find the built-in Help very helpful. Searching for the location of the soft proofing tool and information about it yielded no useful results. Same with the searching for the location of the retouch tool. You will need to download the user guide and search it in Acrobat for meaningful help. The search box above the right panel is helpful in some cases however.
What Works
In PhotoLab 6, the new DeepPRIME XD delivered slightly improved noise reduction, but a clear improvement in fine detail. The cost is a slightly longer processing time than the previous DeepPRIME from version 5. By selecting a very high ISO image with a good deal of fine detail, the difference is visible on the screen after the image is rendered.
[Read: On1 NoNoise AI’s Impressive Noise Reduction]
Once I found the soft proofing panel and loaded the custom ICC profile for my printer, the result was as I expected. The image displays in the program with white borders, which are a better option than black for this purpose.
The ReTouch tool for cloning and healing is a welcome addition and works well as long as there is an area available that matches the are that you want to remove, no differently that the similar tools in other programs.
In ViewPoint 4, I found the new Reshape tool very tricky to use, but the grid options available and the ability to make subtle changes to localized areas may have a use to some photographers. For overall corrections I love the perspective tools.
What Didn’t Work As Well
I would prefer that a folder open in the PhotoLibrary with a grid view of all of the images in the folder rather than the default view of the first image in the folder. It is easy enough to drag the top of the thumbnail border to display the grid view, but my preference would be the opposite of the way it works now, or a preference to choose between the two.

Two windows pop up when you select the new ReTouch tool from the top tool panel. You can close them by clicking on an icon beneath each one, but I would have preferred to leave them open and just drag them out of the way.
In the Customize mode that I set to the Advanced workspace in order to display all of the tool in the right panel, I would prefer if only their header names appeared and that, when one sub-panel is open, the others would close automatically, or there would be an option for this.
The ReTouch tool opens with boxes containing brush options and shortcut hints displayed on the screen. You can close these, but I would have preferred the ability to keep them open, but drag them to an area of the image where they would still be available, but out of the way of the retouching.
As fast as PhotoLab is when exporting a file, I would still like the confirmation of a progress bar to know when the export is completed successfully.
As a standalone, ViewPoint 4 only opens TIFF and JPEG files. To take advantage of it with raw files, it must be used with PhotoLab 6.
How DxO PhotoLab 6 Compares to Other Programs
Where other programs offer geometry tools, none offer the range of tools available in them standalone version of ViewPoint or PhotoLab 6 with ViewPoint installed.
As a raw file converter, DxO PhotoLab 6 ranks with the best and a worthy option to Adobe Photoshop Lightroom Classic and without the need for a subscription. The downloadable DxO Optics Modules and the full use of automatic corrections when opening an image definitely speeds your workflow. I preferred working with the initial corrections provided by the optics modules and automatic vignetting and distortion corrections rather than having to click these on as with other programs or make them manually.
While the Control Point technology offers more precise local adjustments than Lightroom Classic, many users will still move images to Adobe Photoshop because of the lack of layers and precise masking in PhotoLab 6. However, the noise reduction and detail enhancement provided by DeepPRIME XD make DxO PhotoLab 6 an essential tool for professional photographers who routinely capture image at high ISO settings. A 30-day free trial of both programs is available at dxo.com.
Stan Sholik is a photographer/writer in San Clemente, CA.
Related Articles

Adobe Max Roundup: Exciting New Features
October 19, 2023
Adobe Max, the company’s annual creativity conference, has just ended, leaving the latest innovations and features across Creative Cloud. You can revisit many of the keynotes and presentations on the Adobe site, but we’ve put together a quick overview of some of the most exciting photo and video news. Lightroom Most of the new features are available for all Lightroom...
More »

Nikkor Z Releases New Lenses & Tether Tools Updates Software
June 30, 2023
Nikon Z 70-180mm f/2.8 Good news for Nikon Z shooters! Nikon has added two new lenses to its Z-series line: the Nikkor Z 70-180mm f/2.8 and the Z 180-800mm f/5.6-6.3 VR. While the latter is best left to wildlife and sports photographers, we think that the Z 70-180mm f/2.8 model looks like a solid lightweight alternative to its more established...
More »
More Mobile Apps? Yes, Please.
May 31, 2023
Most of us have dozens and dozens of apps on our mobile devices. Some are opened every day; others may be specialized and used less frequently. Of course, there’s always a handful that lay dormant until we decide to clean up our screens. But, let’s face it, technology changes rapidly and as do our needs, so there’s always room for...
More »
