
Hands-On Software Review: Topaz DeNoise 6
June 7, 2016
Now that ISO speeds in digital SLRs have achieved astronomical numbers (like 3,276,800 on the Nikon D5), the temptation for photographers is to actually use ISO settings greater than 6400. Those who succumb to this temptation soon find that image noise increases in pace with higher ISO settings. Topaz Labs has updated its well-respected noise reduction program DeNoise to version 6 to meet the needs of photographers venturing into the realm of high ISO.
DeNoise 6 is a free update for registered users of DeNoise 5 on Mac and PC platforms. New users can purchase the program for $80 directly from topazlabs.com and install it on two computers, either Mac or PC. I tested DeNoise 6.0.1 on both platforms and the look as well as the results were as identical as the two platforms allow.
What’s New
There are several significant new features in version 6, but two stand out for me: the ability for it to run as a standalone program as well as a plug-in, and its ability to batch process an entire directory of images. DeNoise 6, as with version 5, will install as a plug-in to Adobe Photoshop and Lightroom, Serif Photo Plus, Corel Paintshop Pro and Photo Impact, and Topaz photoFXlab, but photographers not shooting in a RAW file format can access DeNoise 6 noise reduction features through the standalone version. Batch processing in the standalone version processes folders of TIFF, JPEG and PNG images once you open a sample image and set the noise reduction parameters.
Also new in DeNoise 6 are camera-specific presets, the ability to view EXIF metadata attached to an image and high-resolution monitor support. The presets are available for a range of high ISO settings for six Canon, five Nikon, and one each Panasonic, Sony, Olympus and Fujifilm cameras at present, with more presets promised in the future.

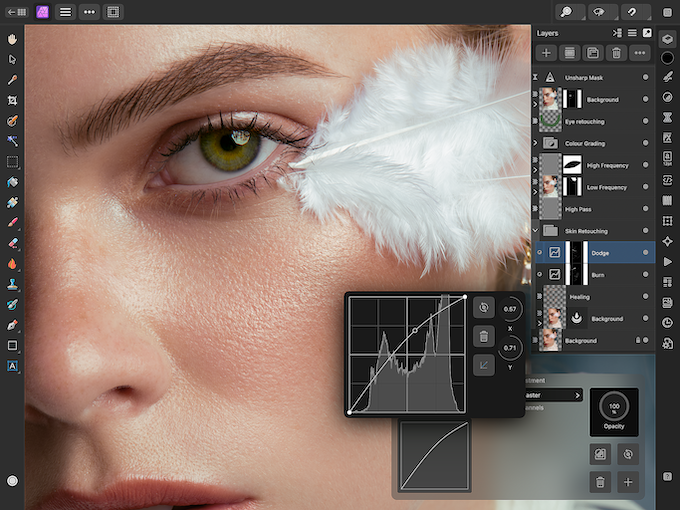
The DeNoise 6 workspace organizes presets to the left, navigator and settings to the right, and a large preview window in the center. The RGB Preview Mode displays the noise in all color channels. You can remove the noise from most images using only this mode and the Overall Strength slider. All photos © Stan Sholik.
User Friendliness
Users upgrading from earlier versions of DeNoise will have an easy time navigating the version 6 interface, but new users would do well to view some of the excellent tutorials on the Topaz Labs website in order to get the most out of the program. While the workspace follows the current conventions with a presets panel on the left, navigator window and settings panel on the right, and a preview window in the center, getting the most out of the settings tabs and their associated parameter sliders is not particularly intuitive. Different noise reduction parameter sliders are meant to be used with different preview display modes to get the most out of the program. Sorting this out and understanding the limitations of the Reduce Blur and Banding Width sliders takes some time, as the results are subtle.
What We Liked
There are many sources of image “noise” in a digital photo, making the noise reduction task a complex one. But the camera-specific presents in DeNoise makes it easy. For my Nikon D750, for instance, I found I couldn’t really improve upon the preset when making my own manual adjustments. For photographers whose cameras are supported by a camera preset and who capture in JPEG or TIFF formats, this allows them to perform noise reduction on entire folders automatically with a few mouse clicks.
I appreciated the ability to easily zoom the large preview image to 200, 300 or even 400 percent to better view the effectiveness of adjusting the parameter sliders on small areas of the image. Even more important is the presence of parameter sliders to independently adjust the noise reduction in the shadows or the highlights since the shadows require more noise reduction than the highlights. And as increased shadow noise reduction tends to gray down deep shadows, I was impressed by the inclusion of a Correct Black Level slider to deepen the blacks to a more natural level.
I was also impressed by how much thought seems to have been spent to make the noise reduction process as visual as possible. The five Preview Modes in the settings panel redraw the large preview window in various ways to make it easy to visualize the noise present and the changes you make as you adjust the sliders. The RGB mode shows your image as you normally see it. Switching to the Luma mode converts the image to monochrome and makes luminance noise visible. The Color mode displays chrominance noise as uneven coloration in what should be smoothly colored areas. And since the sensor’s blue channel is given more amplification than the red and green channels, there is a Blue mode that allows you to view just the blue channel and perform additional noise reduction on it. Finally there is also a Red mode that displays red channel noise in case additional noise reduction is needed there.

High ISO settings were needed to stop the movement of these ballerinas performing leaps. DeNoise 6 is able to remove the resulting image noise while retaining detail in the costume.
What We Didn’t Like
In order for noise reduction to be most effective and mostly invisible, it must be applied as early in the post-production process as possible, before you make exposure, contrast and color adjustments. Unfortunately, DeNoise 6 only works on TIFFs, JPEGs or PNG images. If you shoot RAW, you have to process that image first before applying noise reduction, which is less than ideal. With all of the strengths and controls present in DeNoise 6, I choose to apply noise reduction to a RAW file before processing it to a common file format. The trade-off is that the noise reduction I perform on a batch of RAW images in Lightroom is far less effective than what I could achieve in DeNoise 6.
How It Compares
There is no shortage of noise reduction programs on the market, both plug-in and standalone, as well as noise reduction tools built into image-processing programs such as Lightroom 6, ACDSee Ultimate 9, Photo Ninja and Corel Paintshop Pro X8. I own a bunch of both types and in my testing, DeNoise 6 delivers better results than all but DxO’s Optics Pro 10, even though all can tackle noise in RAW files. I attribute this to the variety of Preview Modes in DeNoise 6 that let you see where the noise is and the number of parameter sliders that give you control over the noise after you see it. But given that I shoot RAW and rarely exceed ISO 6400 with my Nikons, I’ll stick with Lightroom for reducing noise in batches of files. When I need to use an ISO greater than 6400, I use the PRIME noise reduction in DxO Optics Pro 10, which produces somewhat better noise reduction but delivers far greater detail than any other noise reduction software I have tested.
DeNoise 6 is trickier to learn than other noise reduction plug-ins such as Imagenomics Noiseware and Nik Dfine. However, if you put the time in to really learn the subtleties of DeNoise 6, you are likely to achieve a result equal to or better than these less complex plug-ins. If you are searching for your first noise reduction program outside of your image-processing software, then you won’t regret purchasing DeNoise 6, particularly since a one-time purchase ensures future updates at no charge from Topaz Labs.
Stan Sholik is a commercial/advertising photographer in Santa Ana, CA, specializing in still-life and macro work. His book Shoot Macro, for Amherst Media, is available now.
Related: Software So Smooth You’ll Think You’re Dreaming
Software Review: Alien Skin Exposure 7
First Exposure: The Pixelmator
Related Articles

Adobe Max Roundup: Exciting New Features
October 19, 2023
Adobe Max, the company’s annual creativity conference, has just ended, leaving the latest innovations and features across Creative Cloud. You can revisit many of the keynotes and presentations on the Adobe site, but we’ve put together a quick overview of some of the most exciting photo and video news. Lightroom Most of the new features are available for all Lightroom...
More »

Nikkor Z Releases New Lenses & Tether Tools Updates Software
June 30, 2023
Nikon Z 70-180mm f/2.8 Good news for Nikon Z shooters! Nikon has added two new lenses to its Z-series line: the Nikkor Z 70-180mm f/2.8 and the Z 180-800mm f/5.6-6.3 VR. While the latter is best left to wildlife and sports photographers, we think that the Z 70-180mm f/2.8 model looks like a solid lightweight alternative to its more established...
More »
More Mobile Apps? Yes, Please.
May 31, 2023
Most of us have dozens and dozens of apps on our mobile devices. Some are opened every day; others may be specialized and used less frequently. Of course, there’s always a handful that lay dormant until we decide to clean up our screens. But, let’s face it, technology changes rapidly and as do our needs, so there’s always room for...
More »
