
Anthropics Technology Portrait Professional Studio v10
July 1, 2011
First a disclaimer: I have used Portrait Professional for years and I love it. Yes, I’ve taught myself in Photoshop how to do all the things that Portrait Professional does, but for the vast majority of my work when a photo contains people, I run the image through Portrait Professional to take advantage of its quick automation.
So I’m always interested to see what the team at Anthropics has added in each new version, and a little apprehensive too, hoping that they haven’t made any drastic changes that would require me to relearn the program or interface.
Opening version 10 and seeing the same familiar interface set my mind at ease about having to spend time relearning the program. There are some minor changes to the interface to further streamline the workflow, but nothing drastic. For example, when you open a panel for one set of controls, any other panel you may have opened closes. This saves a mouse click to close the current panel and time scrolling up and down the palette to view all of the sliders you want to use. And the new version adds Undo and Redo buttons on the main interface screen.
You still work your way through seven basic steps to retouch a portrait: Open an image, select the gender of the subject, tell the software roughly where the main facial features are, adjust the rough outlines around the main features more precisely, let the software automatically enhance the image, make any adjustments to the enhancement you feel warranted, and save the image. Unless you decide to make extensive adjustments to the automatic enhancements, it will take you far longer to read this review than to complete the procedure.
But under the surface, Anthropics has added new features and enhanced existing ones that will make version 10 a “must have” for many studios.
The first is visible on the opening screen. There is a checkbox to inform the software that you are interested in retouching the portrait of a child. Previous versions of Portrait Professional were too heavy handed with children, requiring me to back off the automatic adjustments a considerable amount.
Not so with version 10. Children’s skin is already quite smooth generally and Portrait Professional now uses a very light touch to improve it further. No face sculpting is used; in fact, many of the face sculpting controls are not visible in Child mode, so chubby cheeks remain chubby cheeks. And I noticed on some portraits I tested of older children that their freckles weren’t entirely removed, something that previous versions routinely did and that I ended up painting back in.
A major new addition is a greatly enhanced set of presets. Where version 9 included 20 beautification presets, version 10 includes 30. These give you further options to instantly apply a particular look such as Man 35–45 Natural or Woman 50+ Glamorous. Another new preset gives you the ability to enhance the skin only if you don’t want to use any of the face sculpting tools.
Yet another automatically removes a double chin. And a control that I found lacking in the previous version, the ability to enlarge the eyes, is now available as a preset. You can still create and save your own presets and I was happy to see that version 10 automatically found and listed my custom presets from version 9.
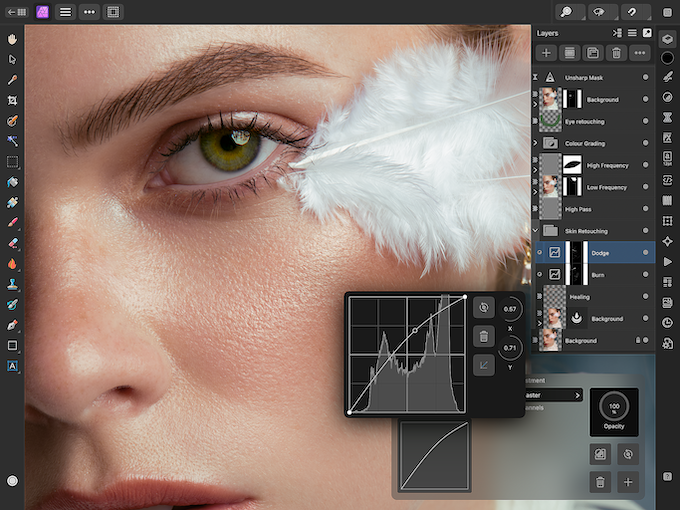
There are now over 200 sliders to give you control over nearly all aspects of face and hair retouching. I didn’t go through each category in detail to pinpoint every change, but I did notice that there are a number of new controls. The eye widening control can now operate on each eye independently and a new control to minimize crossed-eyes is available. There is even a new control to restore the shape of eyeglasses if the face sculpting controls have distorted them. However, I’m still awaiting the day when there is a slider to eliminate flyaway hairs against the background. This is still a process best done outside of Portrait Professional.
I applied version 10 to a couple of the portraits that I have retouched with version 9, and there is even more going on beneath the surface than is obvious from the interface or the presence of new controls. Simply put, the skin looked more natural in the new version. Anthropics says that new algorithms “regenerate” skin texture in areas where large blemishes are removed and that does seem to be the case. Whatever they have done, I never saw a pore-less, “plastic looking” area in any of the work I performed.
Portrait Professional v10 is available in three versions: Portrait Professional, Portrait Professional Studio, and Portrait Professional Studio 64. The portrait enhancing tools are identical in both versions. However, the two Studio versions add support for DNG and many RAW file formats (including some medium format RAW files), the option to use it as a stand-alone or a Photoshop and Lightroom plug-in (the non-Studio version is only a stand-alone), a batch-processing mode (sort of), the ability to read, enhance and write 16-bit TIFF files and color profile support. Additionally, Studio 64 is optimized for 64-bit Windows (but not Mac) operating systems, and allows you to retouch on portraits of unlimited size.
Installing the standalone version is straightforward. To install the Studio version as a Photoshop plug-in requires going into Portrait Professional Preferences and completing the install to Photoshop from there. In Lightroom you can install Portrait Professional as an external editor.
I prefer working from Lightroom, where I can make any adjustments to the image overall, then export to edit in Portrait Professional for retouching. When I’m done, Portrait Professional takes me back to Lightroom with the new retouch version stacked with the original. Using the Photoshop plug-in, the only option to exit back to Photoshop is “Save and Close,” which overwrites your original image. If you haven’t made a separate layer before launching Portrait Professional and you save in Photoshop at this point, your original is gone forever.
If you are working on a group portrait, you can retouch each photo in the group without exiting the program and reopening it. However, once you move on to the next person, the adjustments you have already made cannot be changed.
Opened as a standalone program, the Studio versions can operate in a “batch” mode. For Portrait Professional, this means you select the files that you want to work on the first screen, and then retouch them sequentially one at a time. You can save the enhancements you made to the first image as a preset and apply it to subsequent images, but that’s about all of the automation there is. It does speed your workflow since you aren’t closing and opening Portrait Professional for each file.
I remain a believer in Portrait Professional, both for its ease of use and the quality of the results. For new users the learning curve is minimal, and experienced users will appreciate the changes and improvements in version 10.
MSRP of Portrait Professional v10 is $89.95; Portrait Professional Studio v10 is $129.95; and Portrait Professional Studio 64 v10 is $219.95. However, as I write this, all three versions are available at a substantial discount from Anthropics. More information, as well as before and after samples, can be found at www.portraitprofessional.com and www.portraitprofessionalstudio.com.
Stan Sholik is a commercial photographer with over 30 years of studio and location experience. He is currently working on a new book about Nik HDR Efex Pro for Wiley Publishing.
Related Articles

Adobe Max Roundup: Exciting New Features
October 19, 2023
Adobe Max, the company’s annual creativity conference, has just ended, leaving the latest innovations and features across Creative Cloud. You can revisit many of the keynotes and presentations on the Adobe site, but we’ve put together a quick overview of some of the most exciting photo and video news. Lightroom Most of the new features are available for all Lightroom...
More »

Nikkor Z Releases New Lenses & Tether Tools Updates Software
June 30, 2023
Nikon Z 70-180mm f/2.8 Good news for Nikon Z shooters! Nikon has added two new lenses to its Z-series line: the Nikkor Z 70-180mm f/2.8 and the Z 180-800mm f/5.6-6.3 VR. While the latter is best left to wildlife and sports photographers, we think that the Z 70-180mm f/2.8 model looks like a solid lightweight alternative to its more established...
More »
More Mobile Apps? Yes, Please.
May 31, 2023
Most of us have dozens and dozens of apps on our mobile devices. Some are opened every day; others may be specialized and used less frequently. Of course, there’s always a handful that lay dormant until we decide to clean up our screens. But, let’s face it, technology changes rapidly and as do our needs, so there’s always room for...
More »
