Software
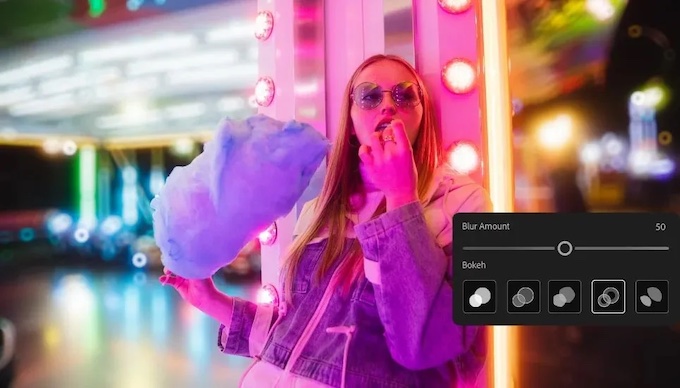
When it comes to creating images with bokeh, it’s not always possible to get it right in camera, though many of us certainly try. Maybe your environment isn’t cooperating or your lens just can’t render those floating, glowing orbs the way you want.
Luckily, filmmaker and photographer Jonas Stenstrom of 52Things has created this informative tutorial to walk you through how to create a bokeh effect using Photoshop.
To get started, you’ll not only need your original image, but several other photos as well. These secondary images should be dark with some bright spots in them—they’re the raw material that will be transformed into bokeh for the final image.
Once you’ve assembled your images, you’ll use several Photoshop tools:
- Field Blur (under filter > blur gallery), to take the secondary images and blur them sufficiently so that the light spots become swirly bokeh.
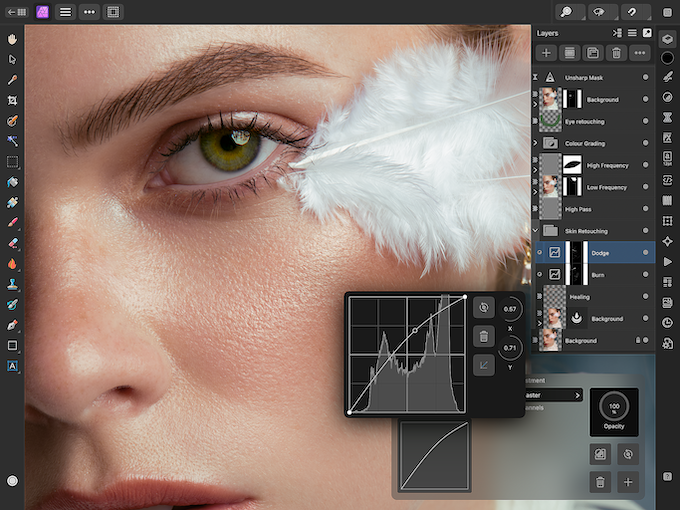
- Blend In (set to screen) which lets you layer in the secondary images as layers on the original.
- Layer Mask to clean up any bokeh globules that appear where you don’t want them.
There are a few other tweaks that Stenstrom makes along the way to clean up and refine the original image once the bokeh layers have been added so be sure to hit the video for all of his tips.
Don’t Miss: How to Create and Sell Your Own Photo Presets


